
Archive


Part 2: Configuring VirtualBox with a Windows OS


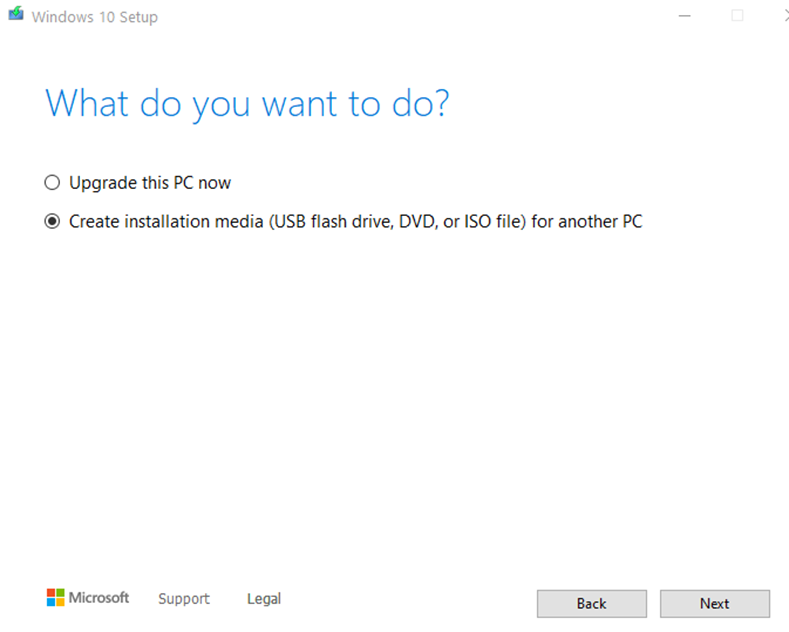

Create Windows VM
While that’s downloading, hop over to VirtualBox and we’ll start creating the VM:
Hit the New star-looking button at the top:
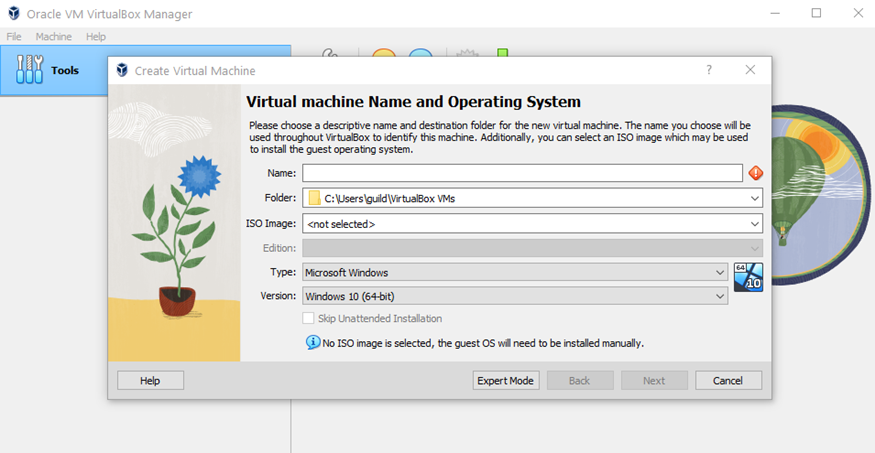
Give your VM a Name, specify where you want to store VM files, select the Windows.iso and check the box next to “Skip Unattended Installation:
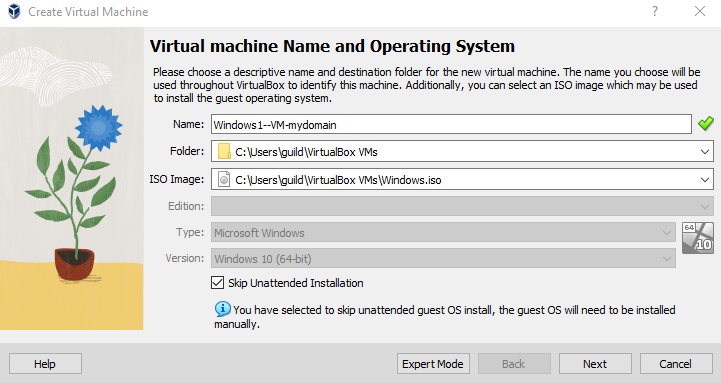
Name: Windows10-VM-mydomain
Folder: C:\Users\guild\VirtualBox VMs
ISO Image: C:\Users\guild\VirtualBox VMs\Windows.iso (choose location where you saved it to)
Skip Unattended Installation: Check the box (this allows to install the OS manually)
The next “Hardware” screen allows you to configure the VM’s memory and CPU Processors (keep in mind that this will be relying on your physical computer’s resources):
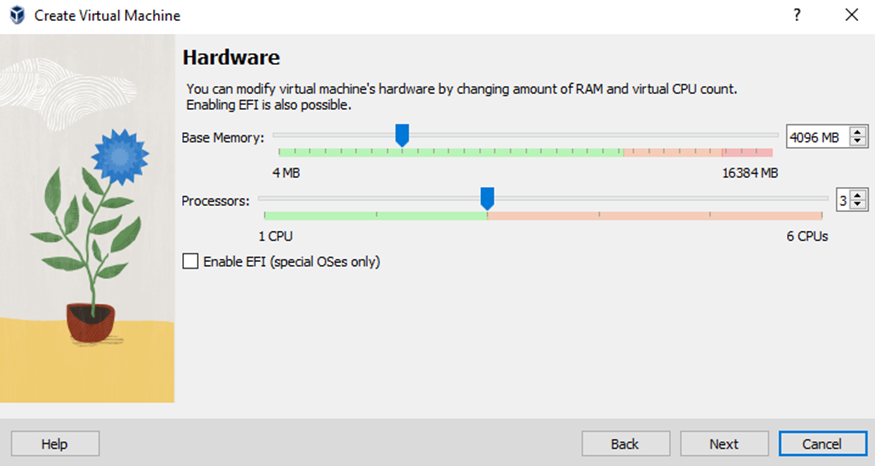
Just for the installation processed, I increased the Base Memory to 4096 MB (4 Gigs) and increased the CPU to 3 Processors (it just makes it go a whole lot quicker….trust me. If you notice these setting eating too much of you host’s resources, by all means lower these.)
Hit Next
For the Virtual Hard disk I decreased to 30 Gigs:
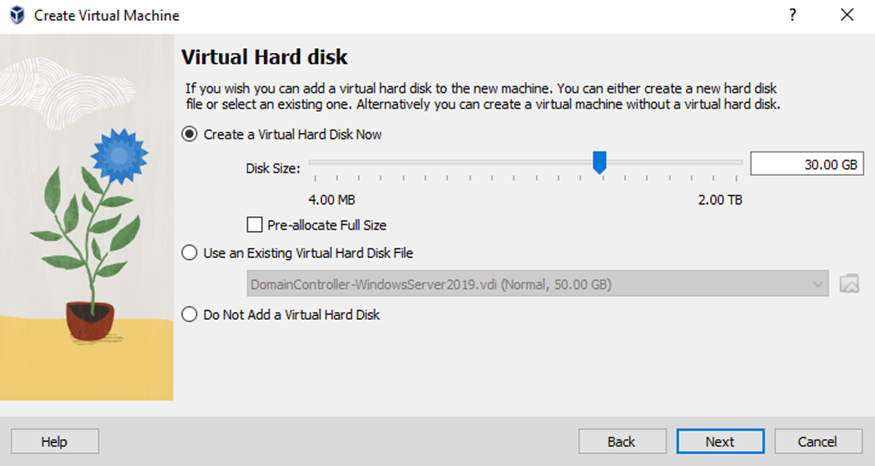
Hit Next
Finally you’ll see a Summary of what you just configured:
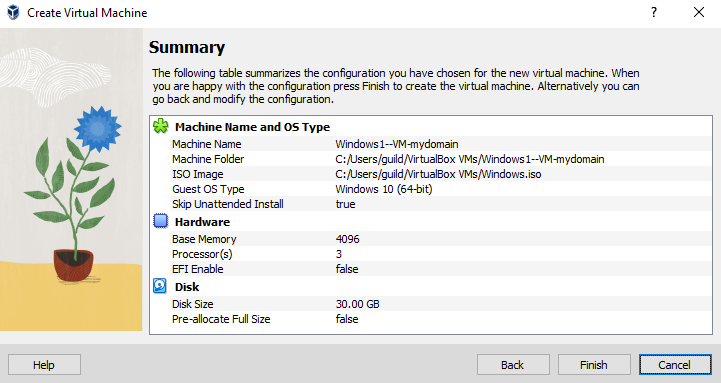
If you’re good to go, click Finish
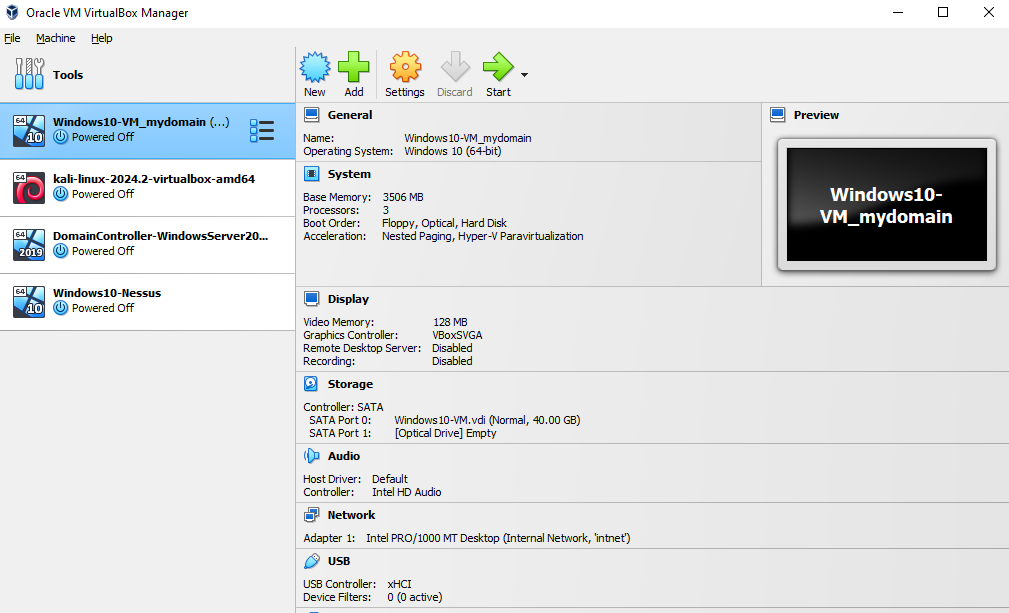
Shortly you should see the new Windows1-Nessus VM in VirtualBox:
Go ahead and hit the green arrow labeled Start at the top.


So now our VM is pretty much configured, but it’s still empty. We’ll go ahead and double-click it to start it.
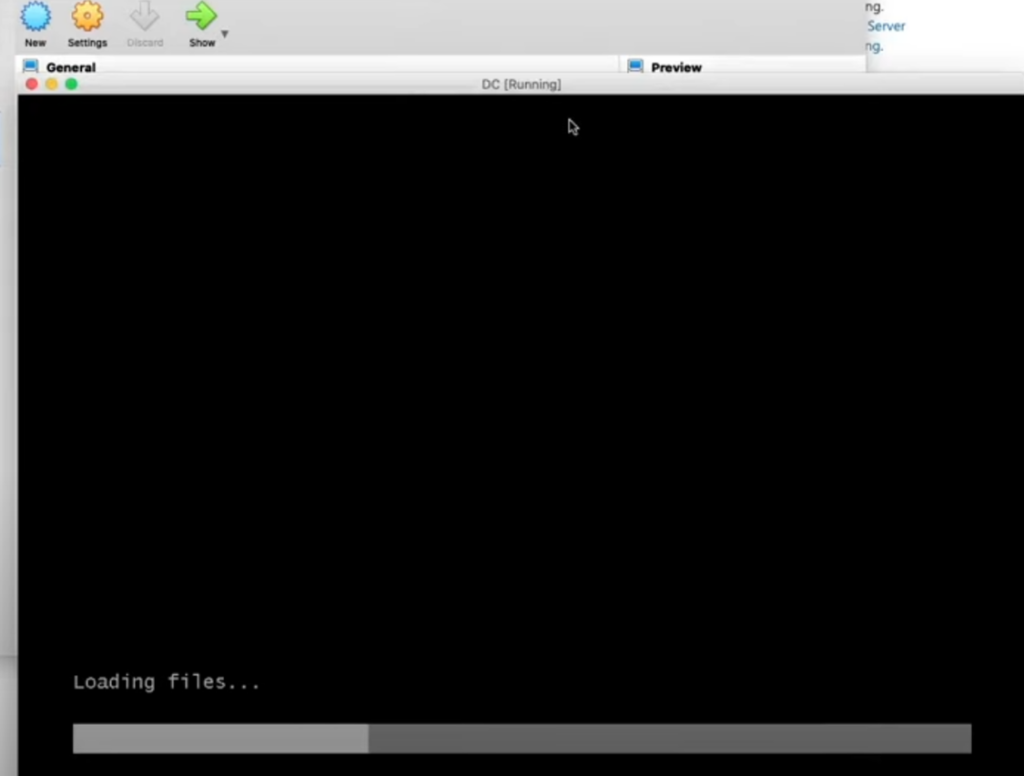
You should see the VirtualBox screen (which means the VM is starting):
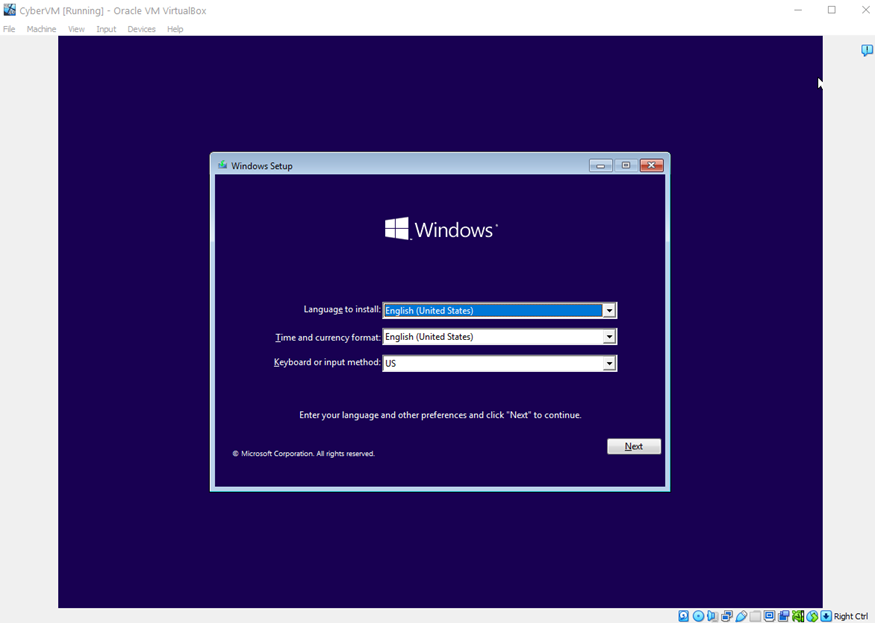
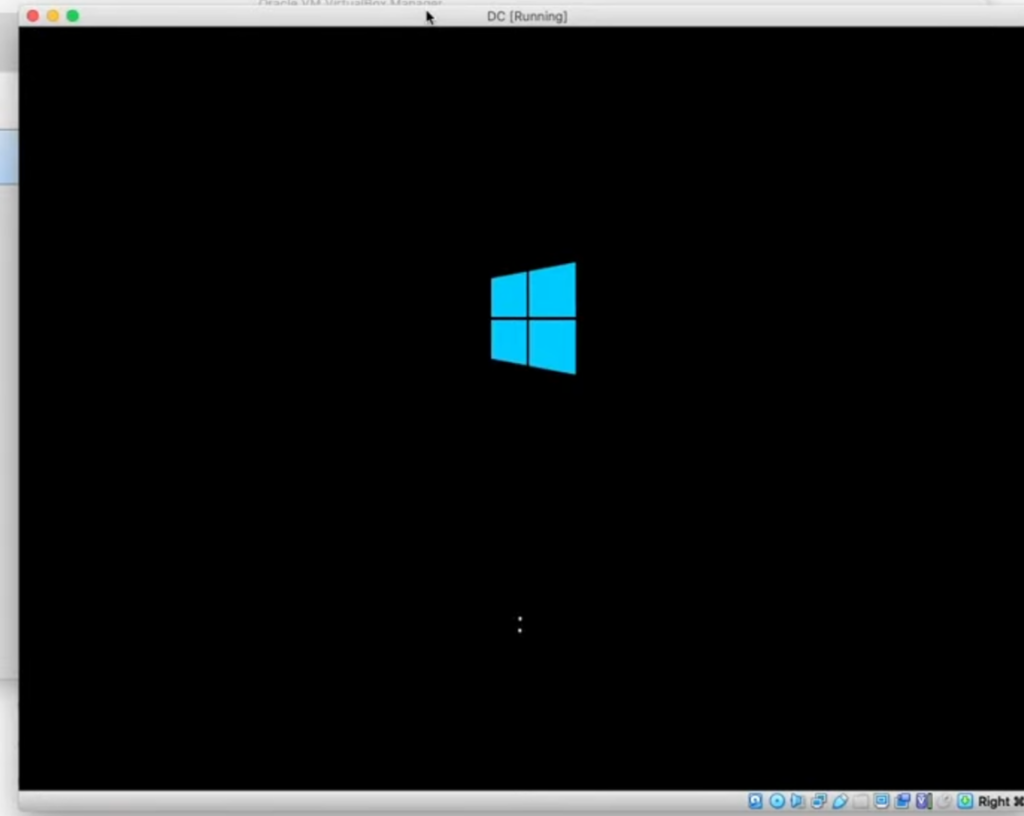
It will then start to load the iso. Just like before when we did the Windows 10 vm, this process takes awhile:
Finally it is ready to configure. You will see the following screen:
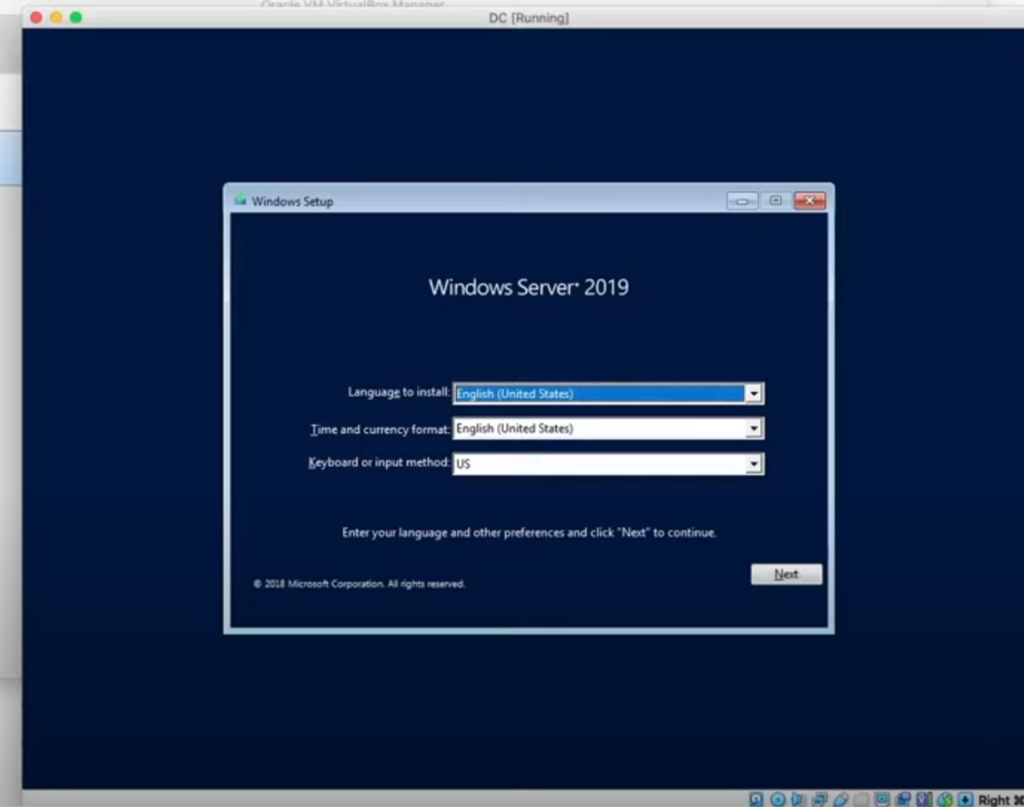
Hit Next
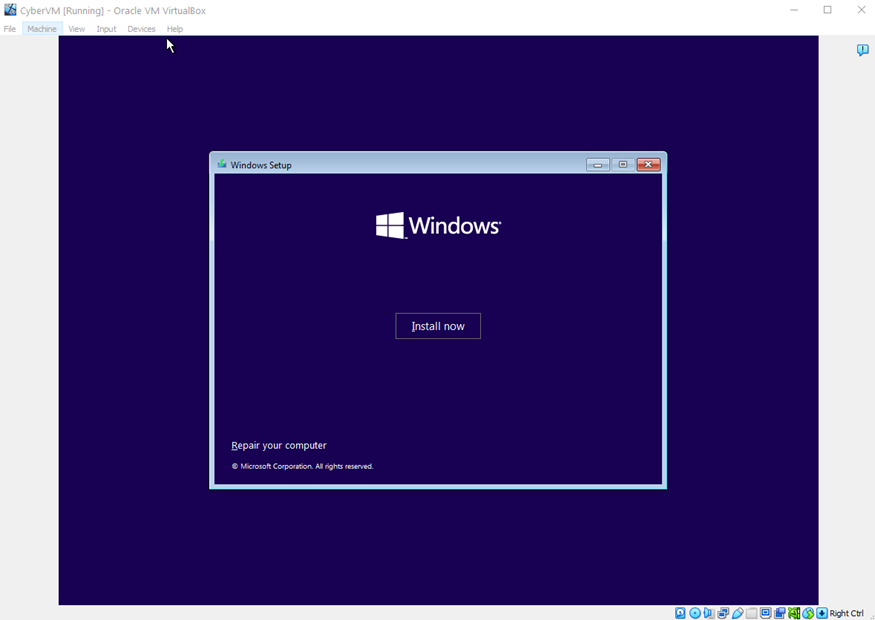
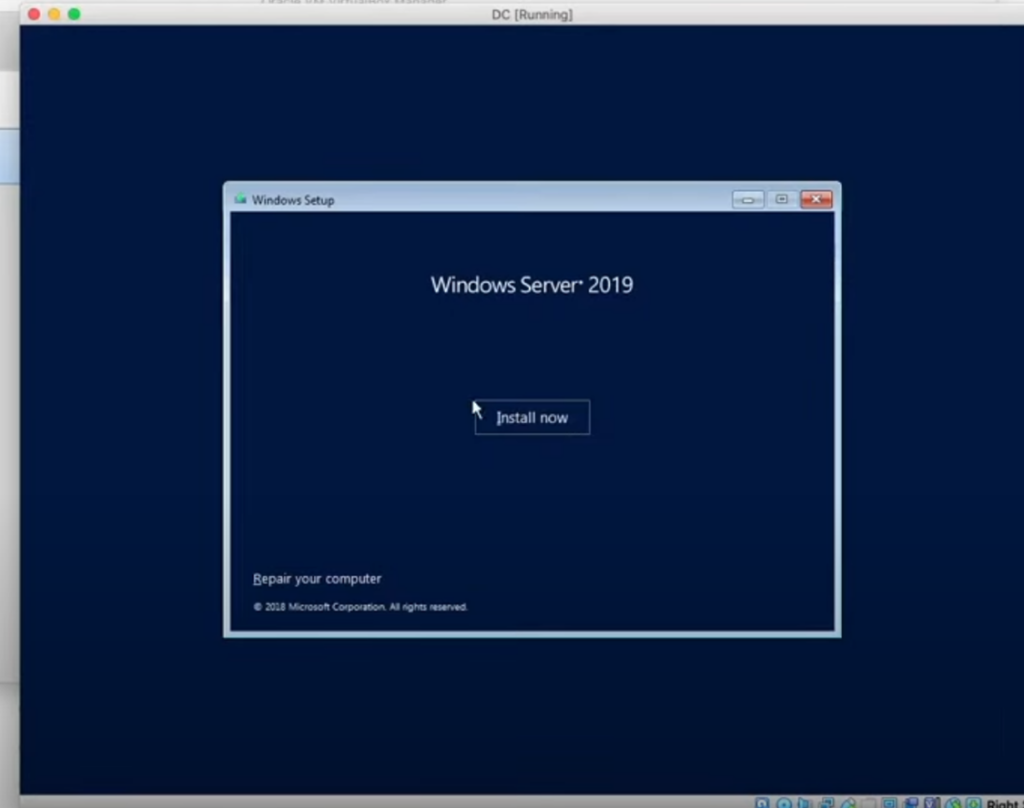
Now hit Install Now:
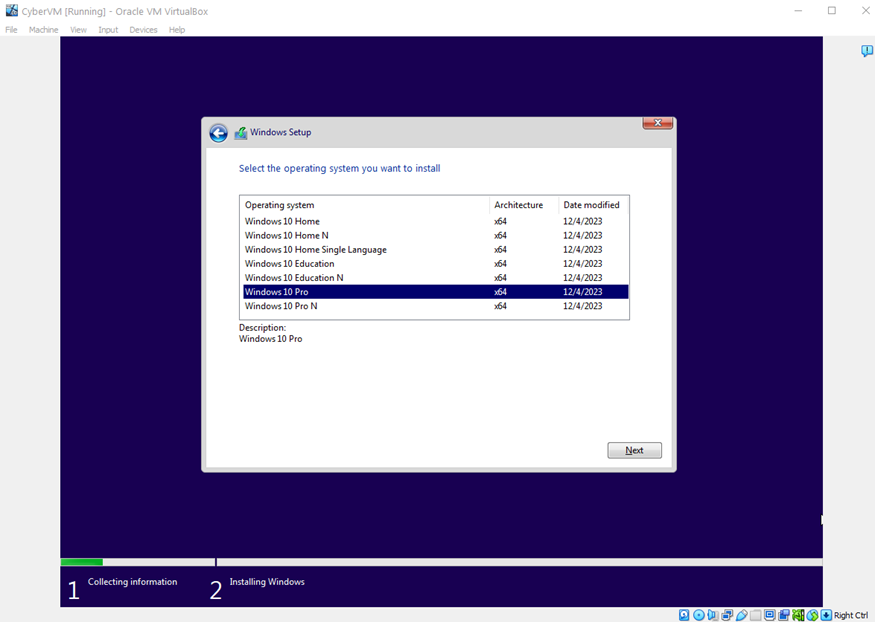
Choose Windows Server 2019 Standard Evaluation (Desktop Experience) and then Next:
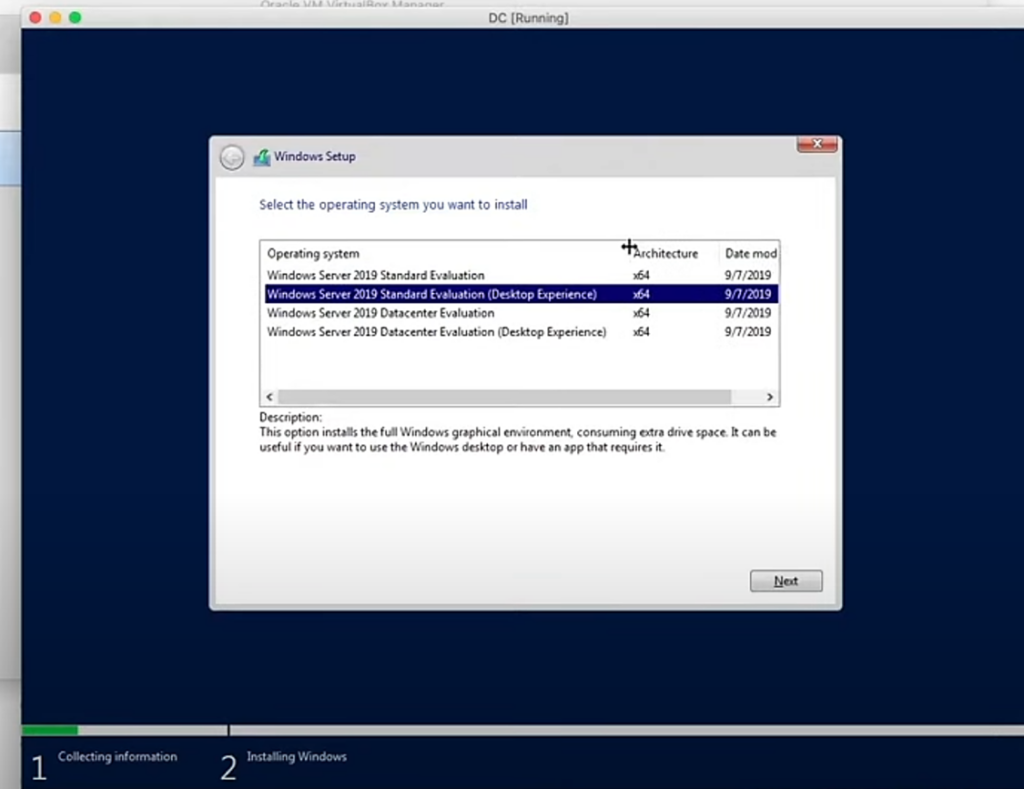
If you choose the non-Desktop Experience options, you’ll only get the command line).
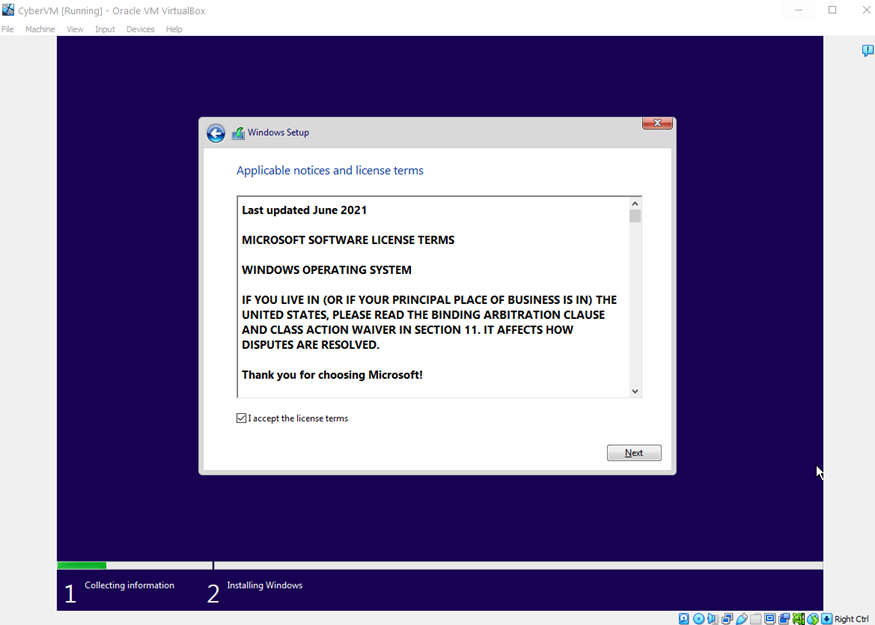
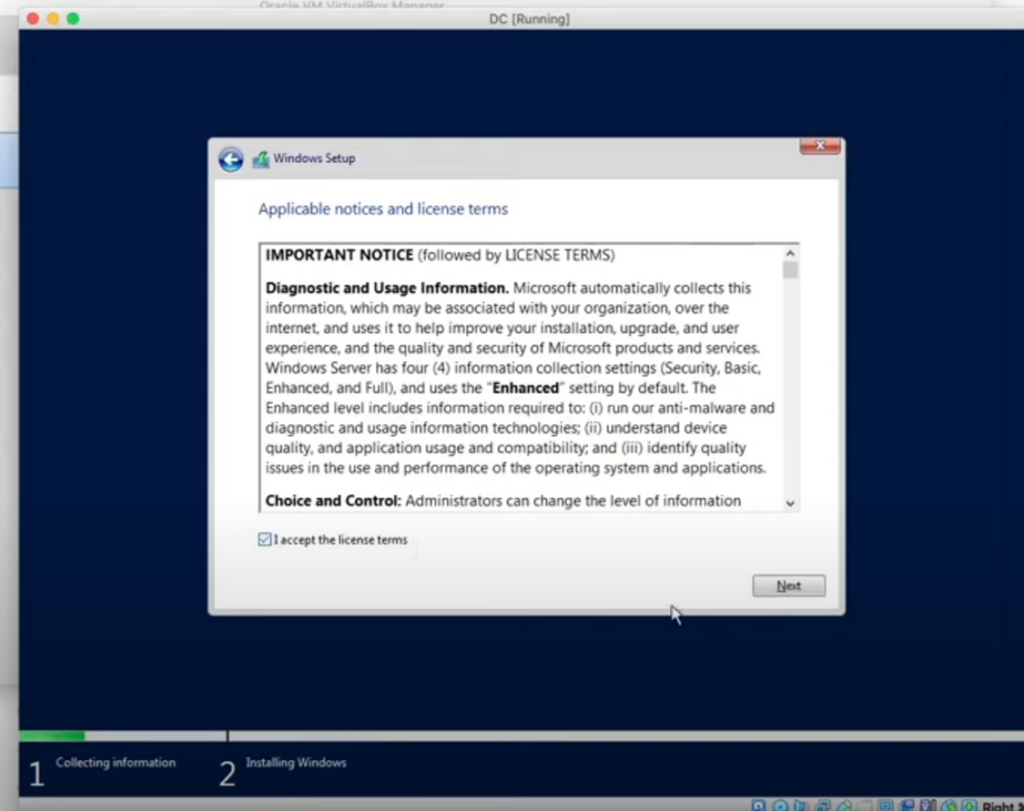
Agree to the terms:
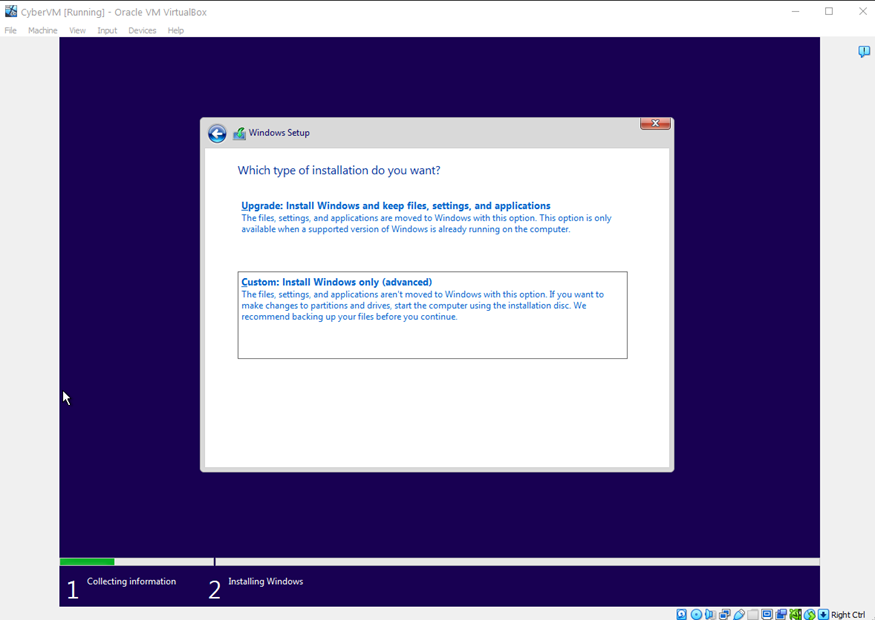
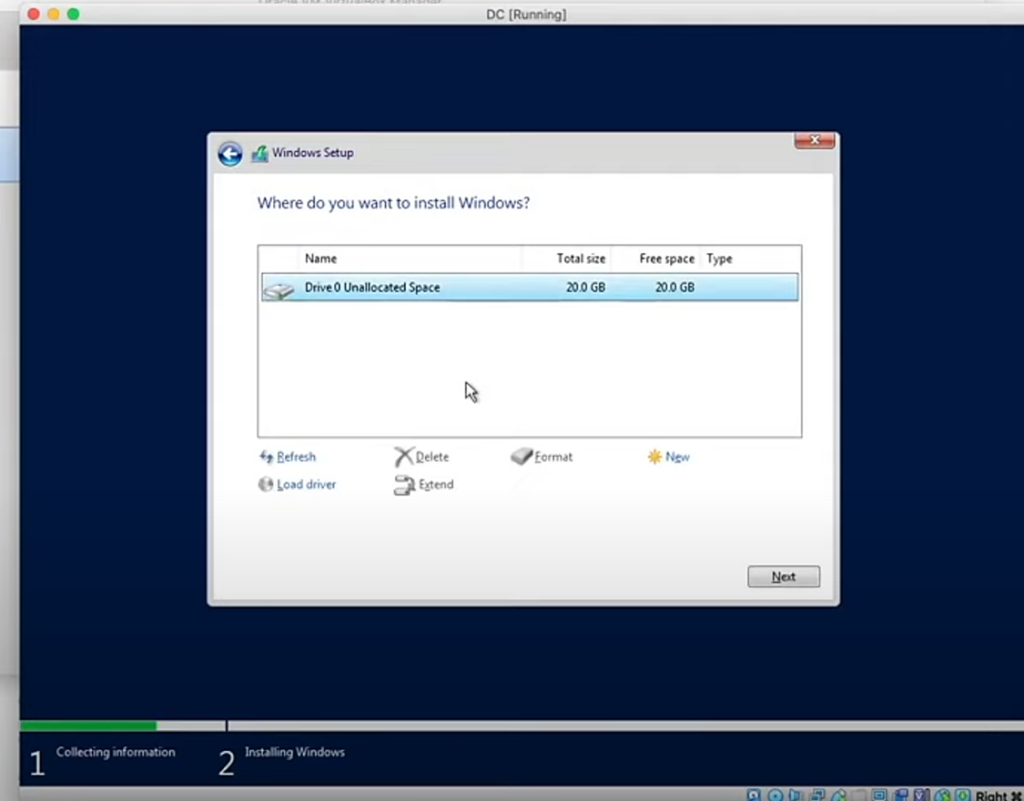
Now choose the second option Custom: Install Windows only (advanced):

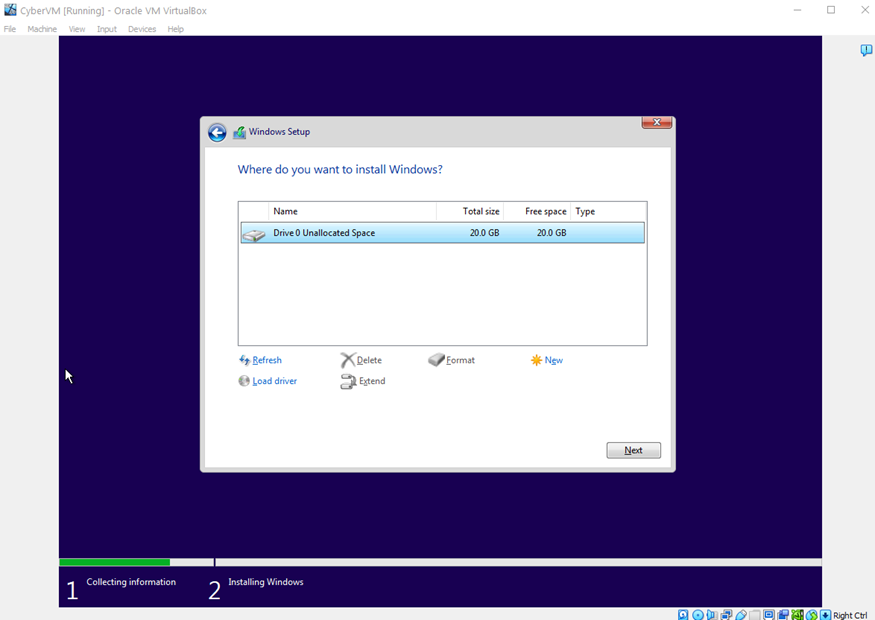
Hit next:
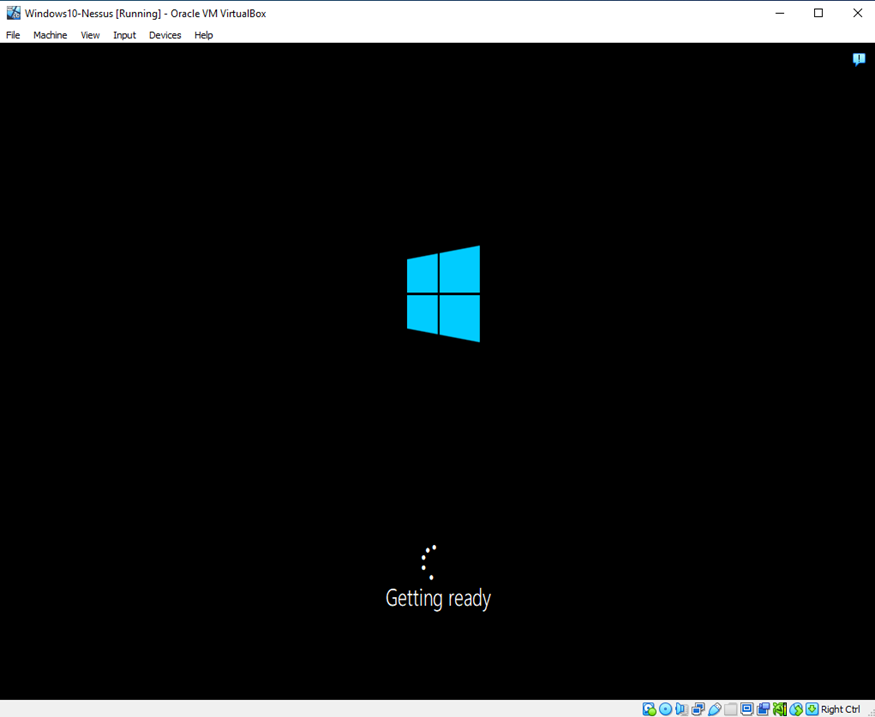
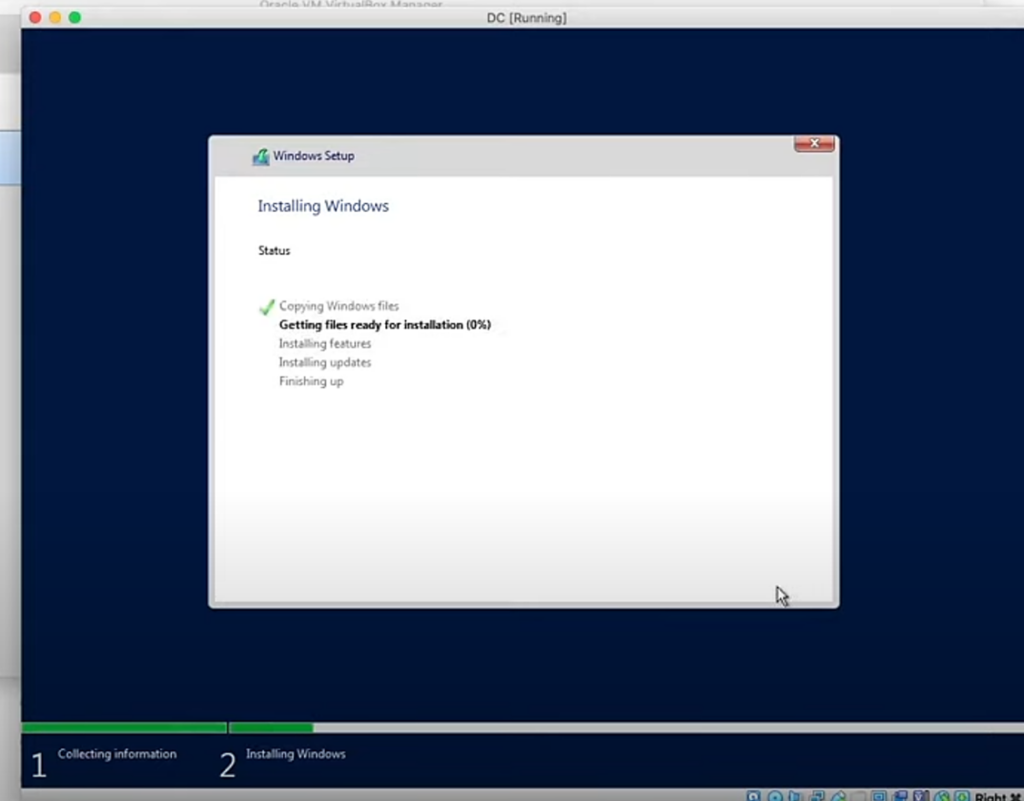
It will start installing (this part will take a while):
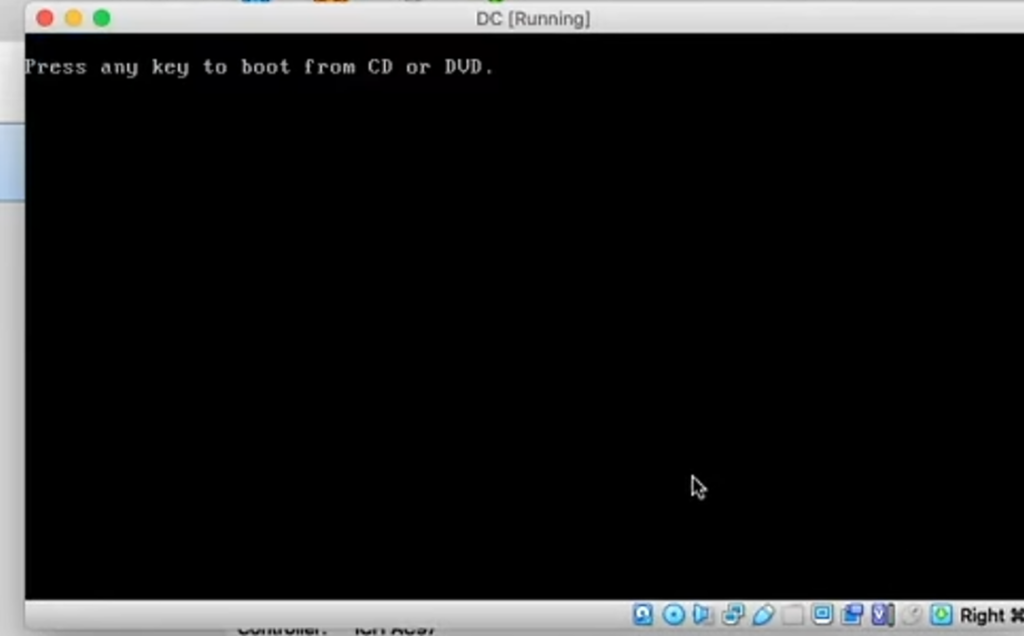
The server will restart several times during this installation. Eventually it will get to a black screen that says, “push any button to boot”. Don’t press anything at this point and it will boot to windows on its own:
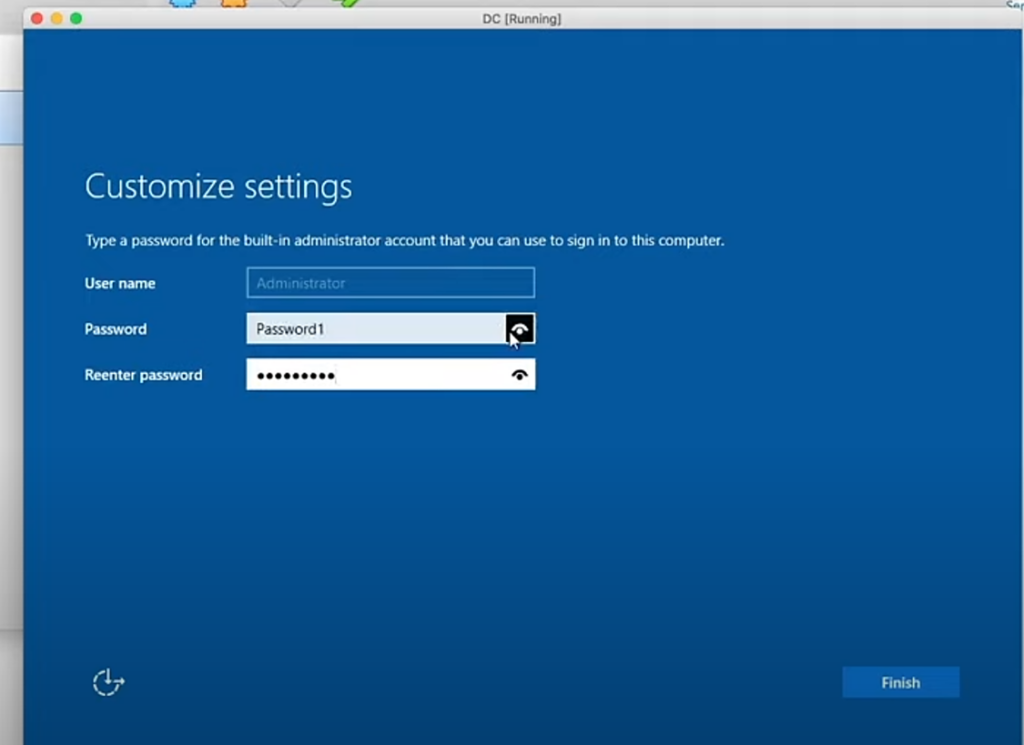
When Server2019 in fully installed, you’ll be prompted to put in an admin password. I just used Password1 for this example and select Finish:
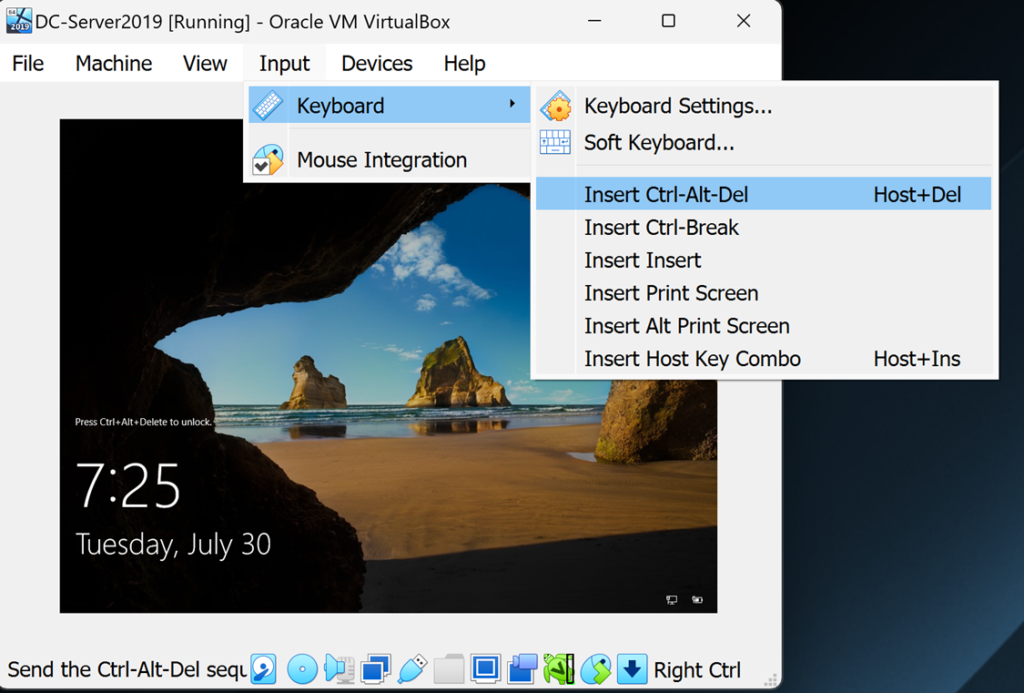
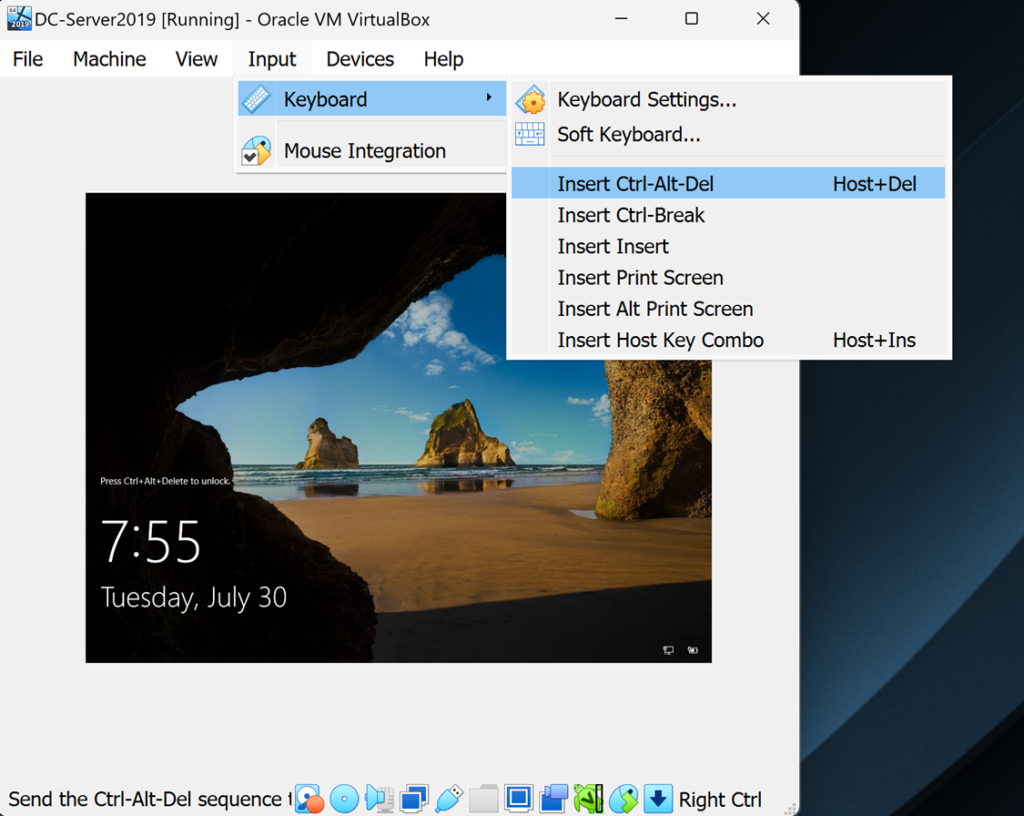
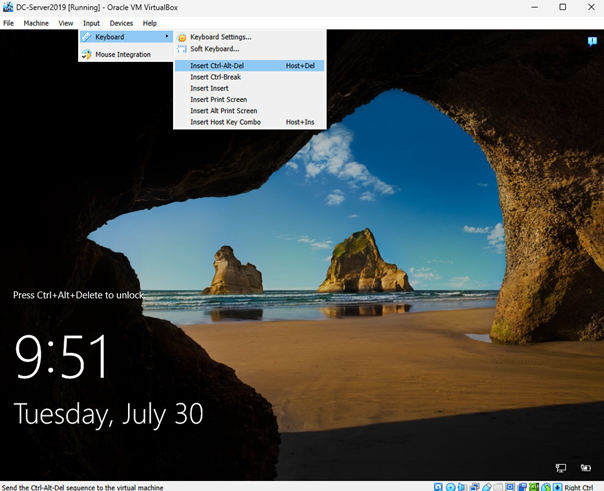
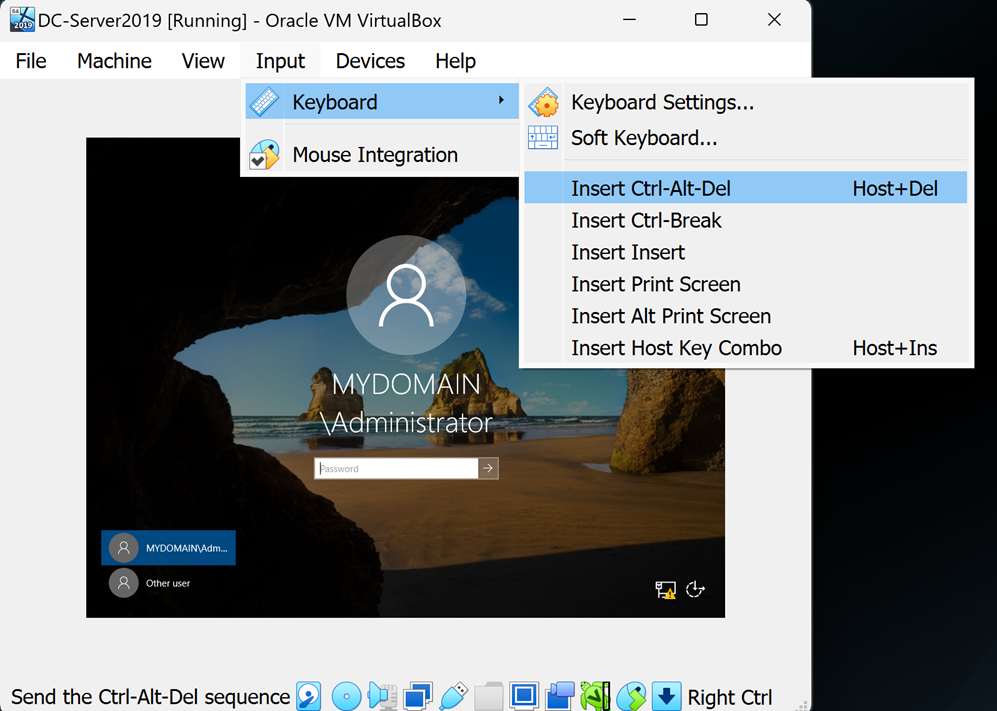
The windows splash screen will show next. It is asking you to
press Ctrl Alt Del. Because it’s a virtual machine, you’ll have to go to the
VirtualBox Input tab on the top and select Insert Ctrl Alt Del:
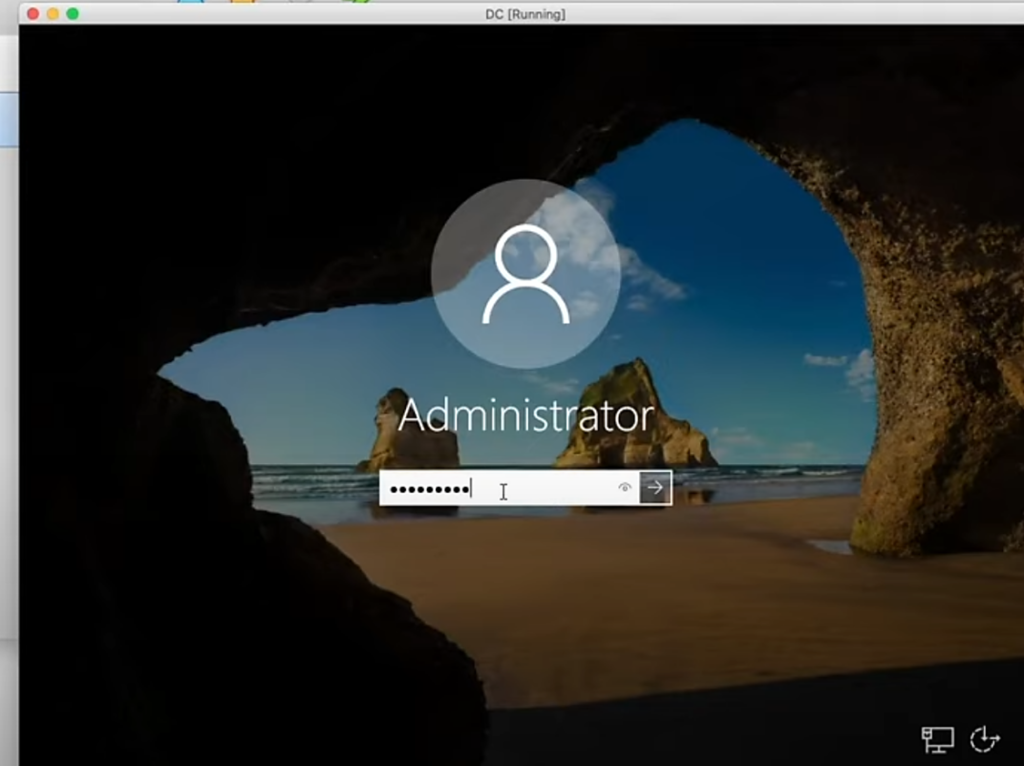
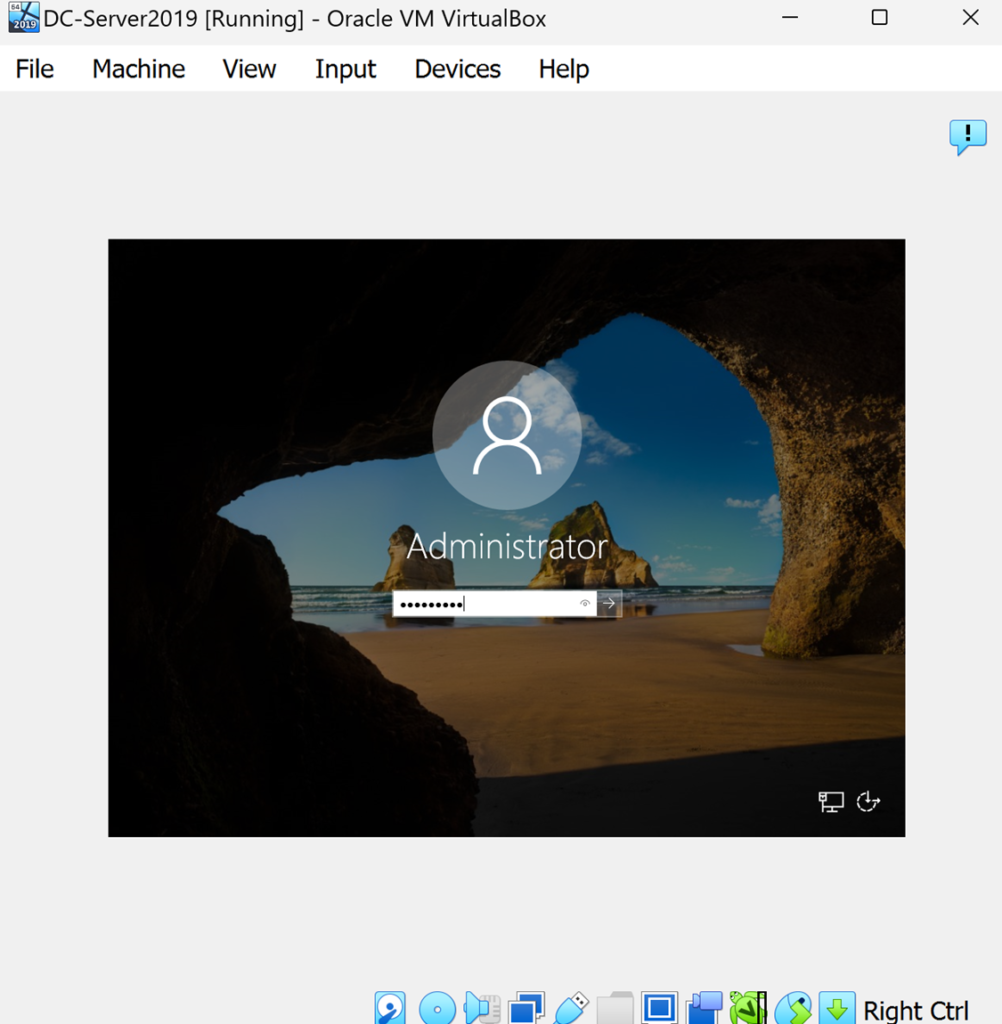
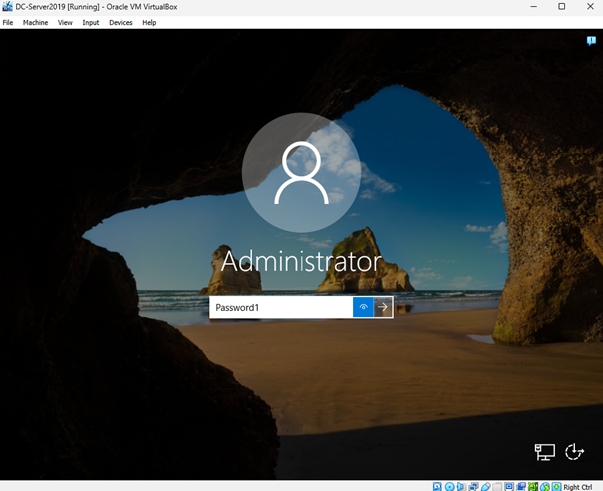
Now we can login with our Password1:
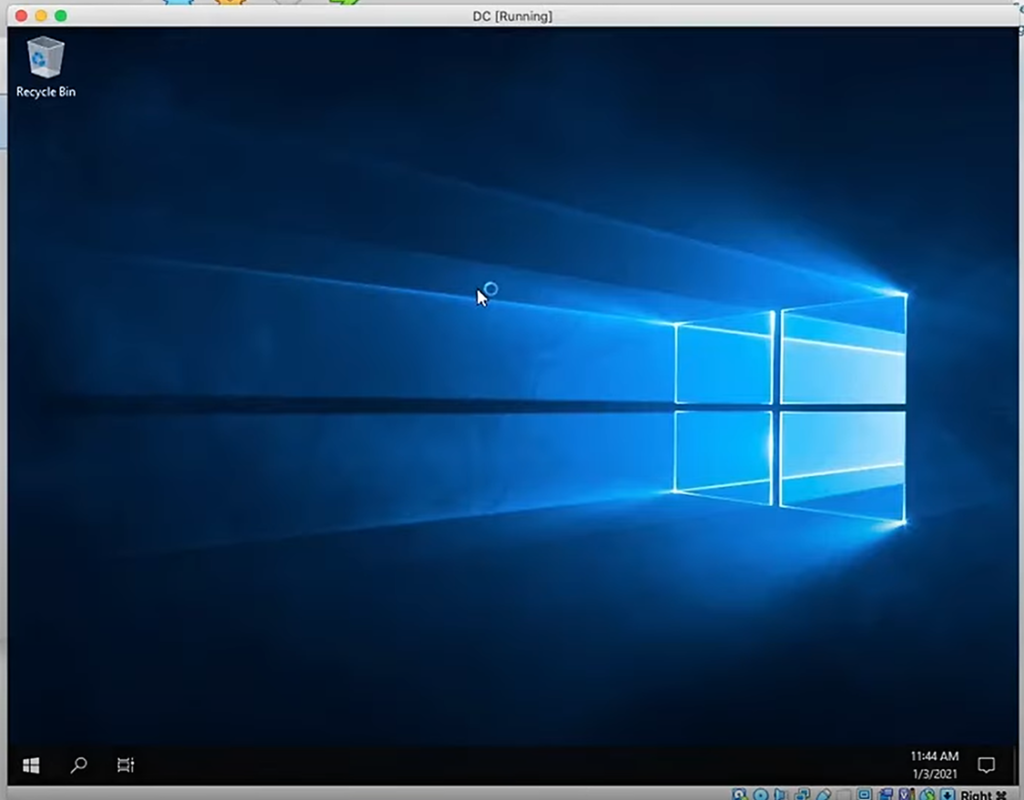
Windows will apply a bunch of settings and will login:
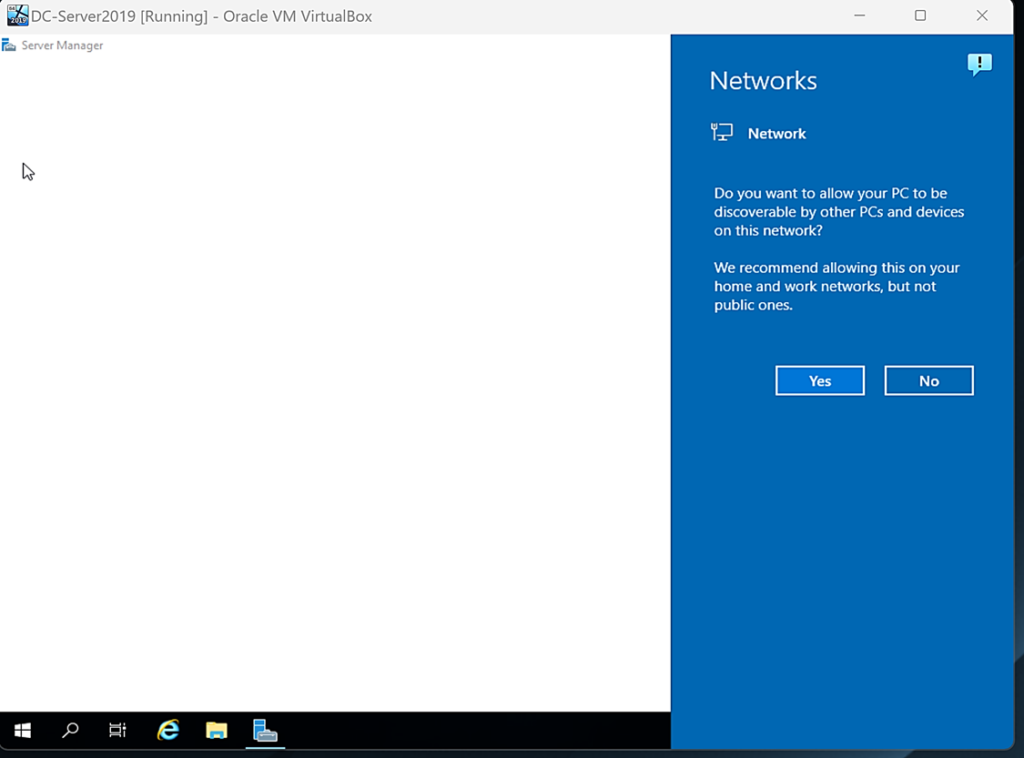
Hit Yes on the Network prompt on right:
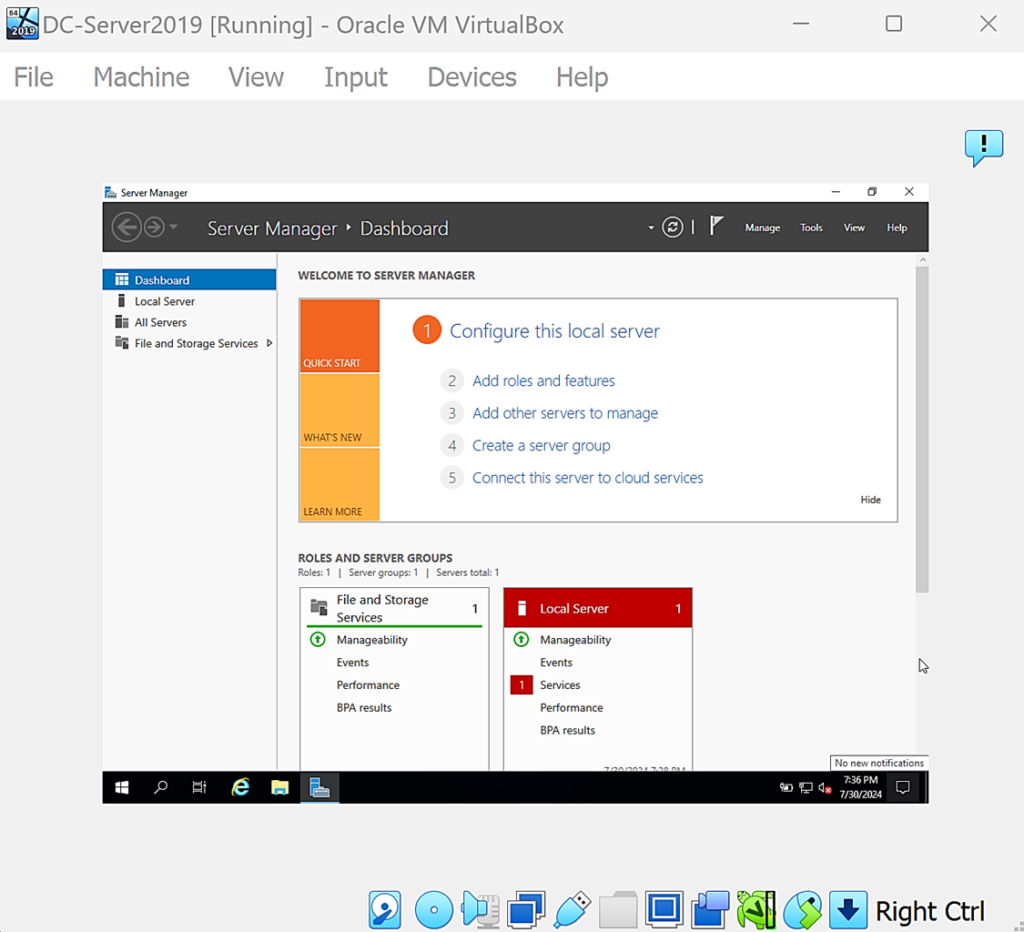
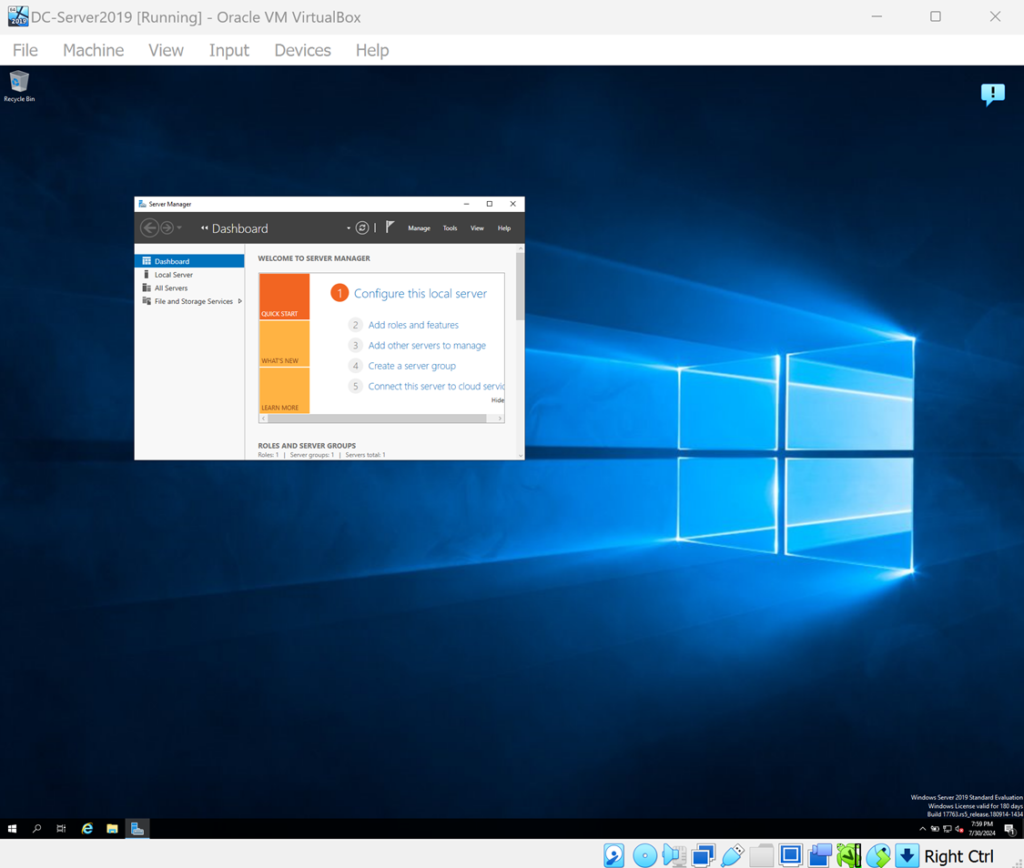
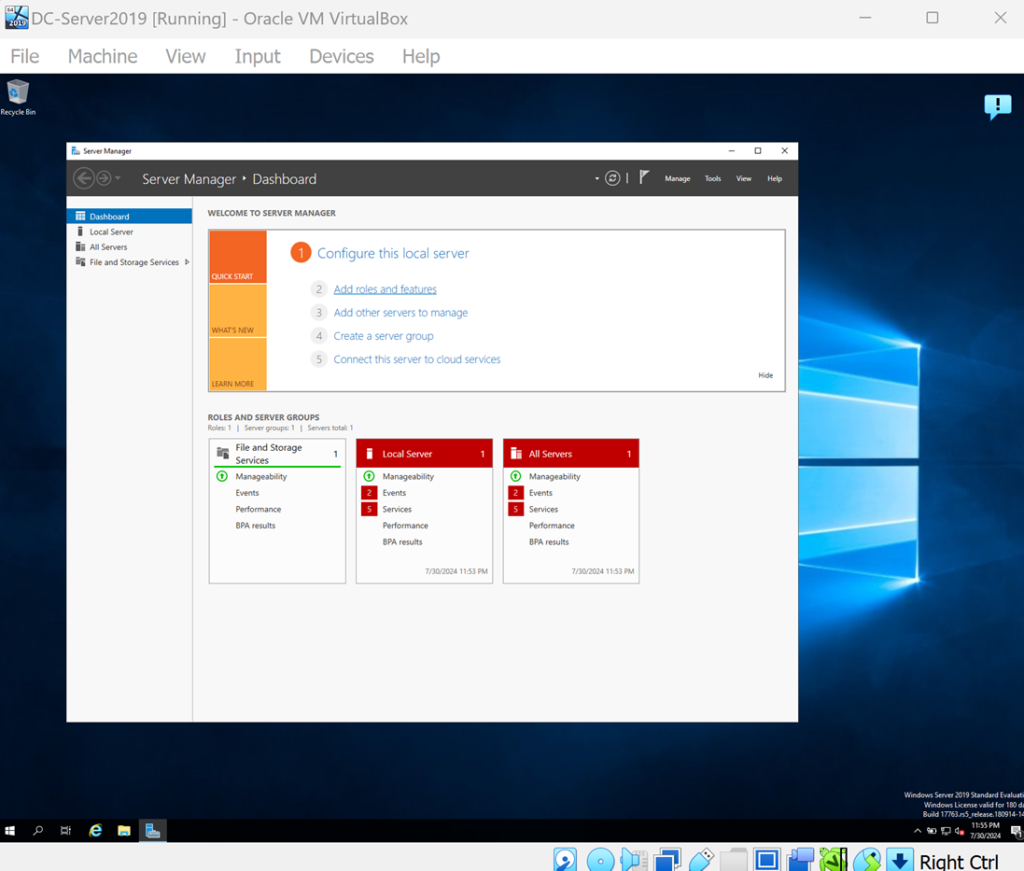
The Server Manager will start up eventually. Go ahead and minimize it:
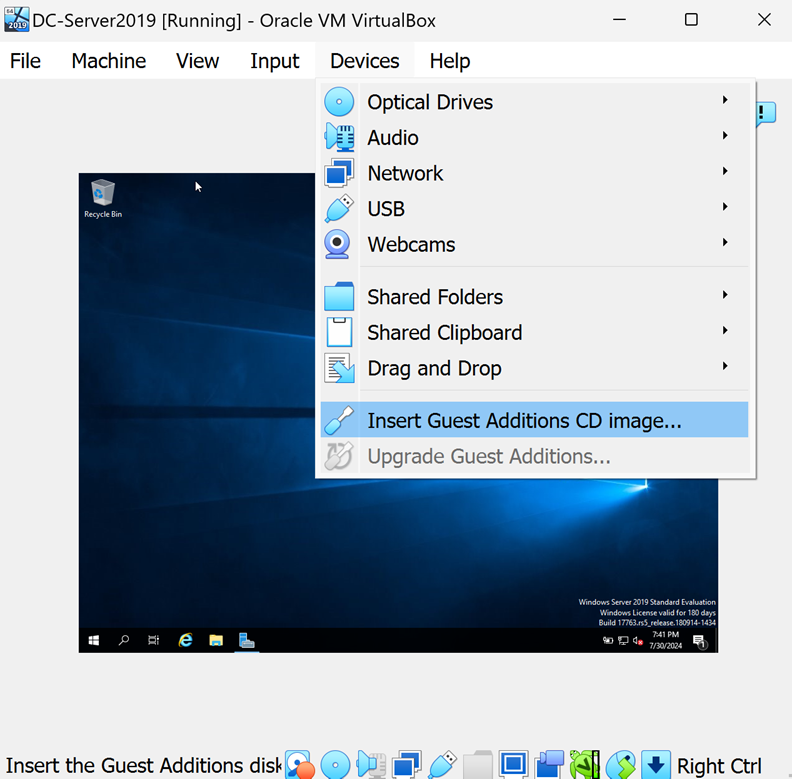
You may notice that when we try to resize the VM, it stays small and not really user-friendly. This is where the Guest Edition Extension comes in which I had you download earlier. To start using the Guest Additions extension, go to Devices > Insert Guest Additions CD image
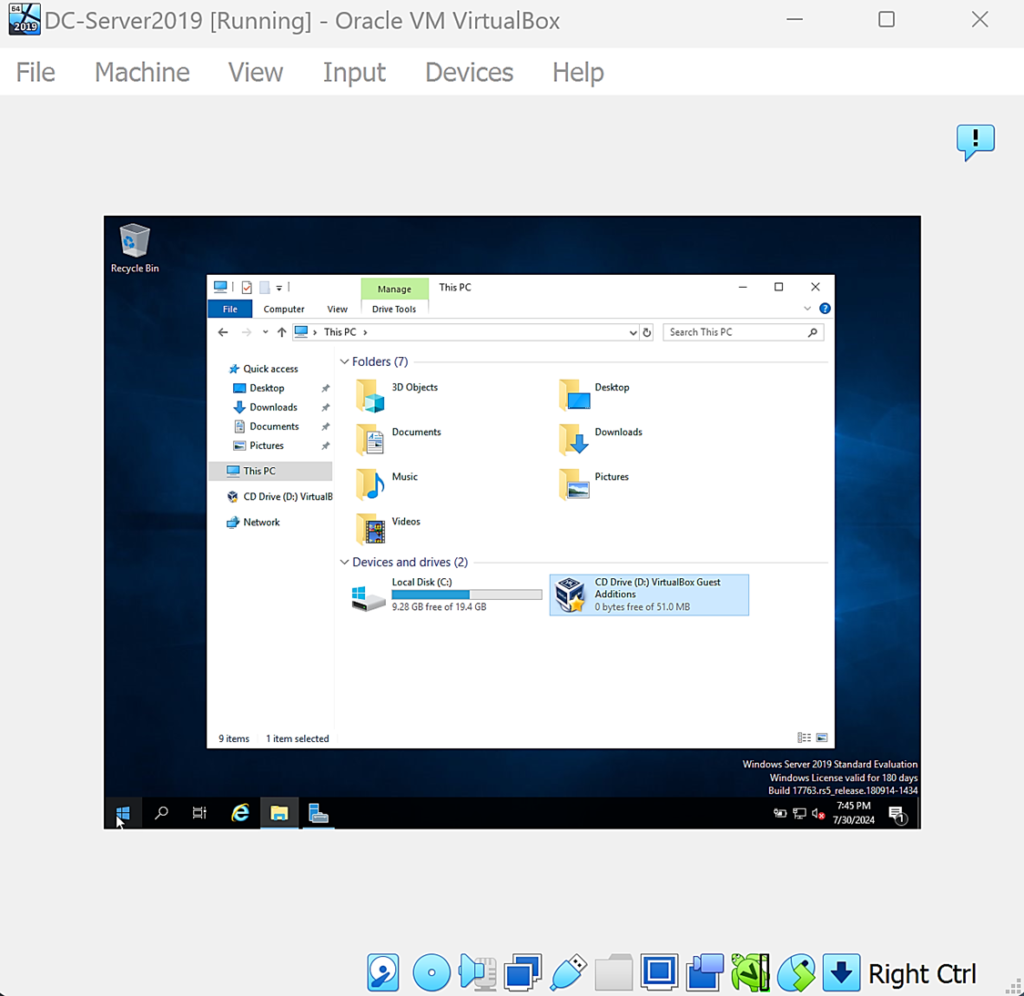
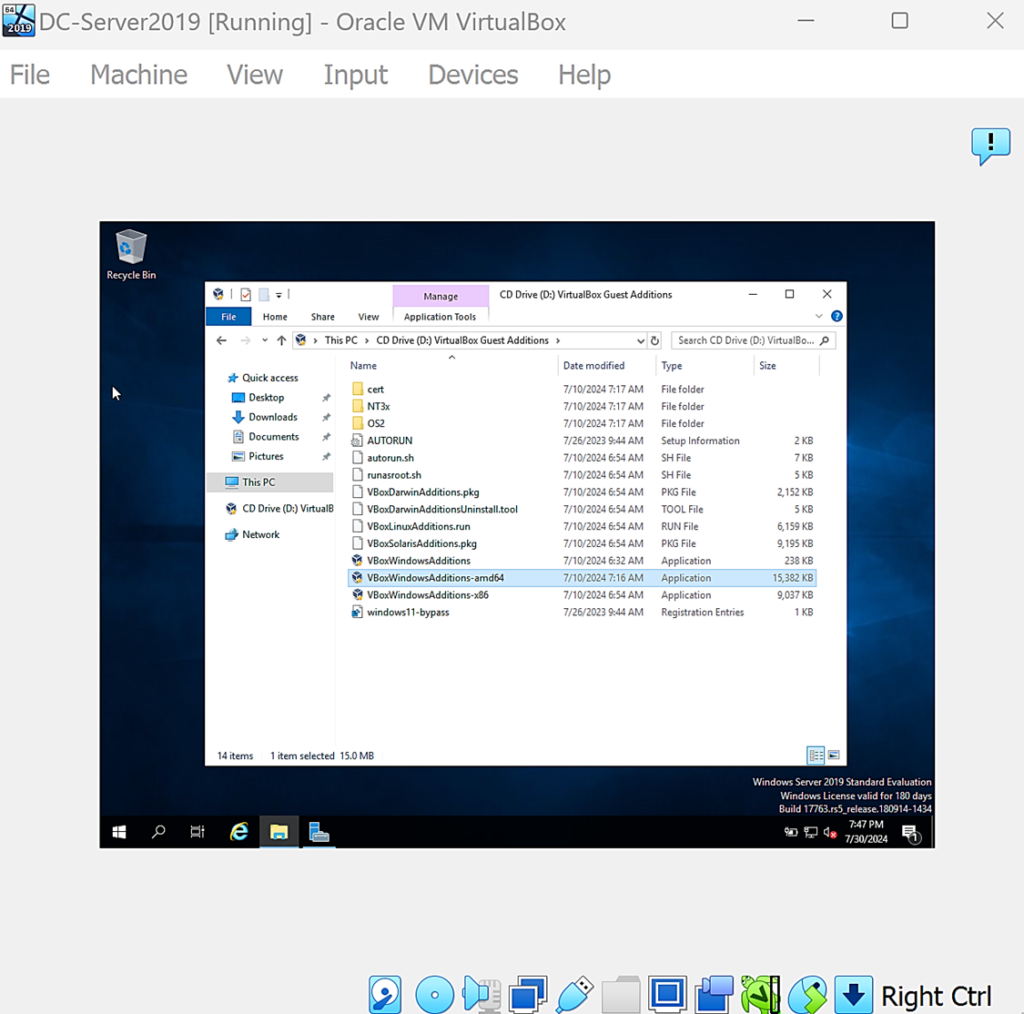
Then in the VM, go to File Explorer > This PC > CD Drive (D:) VirtualBox Guest Additions
Double-click on the file that ends with amd64:
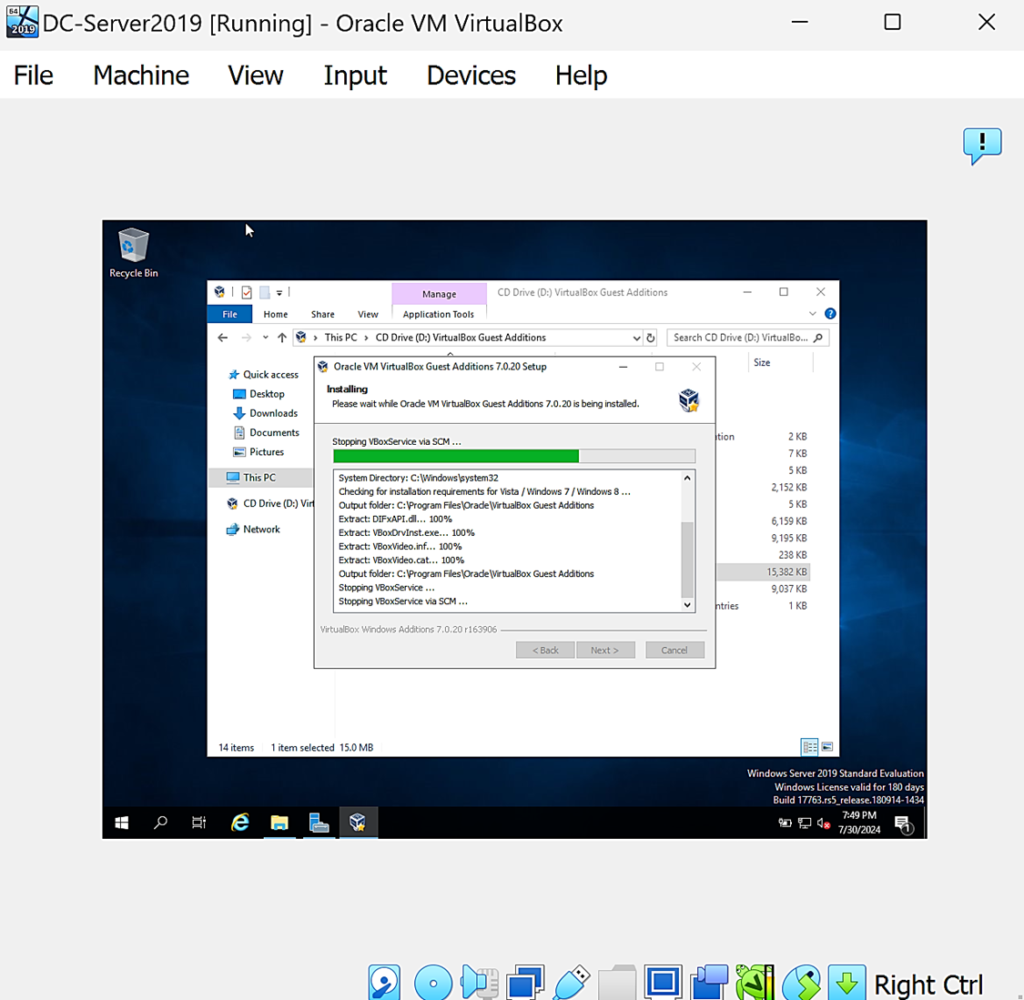
You’ll be prompted with an Install Wizard in which you just want to accept all defaults and keep selecting Next until it starts installing:

It will install Guest Additons:
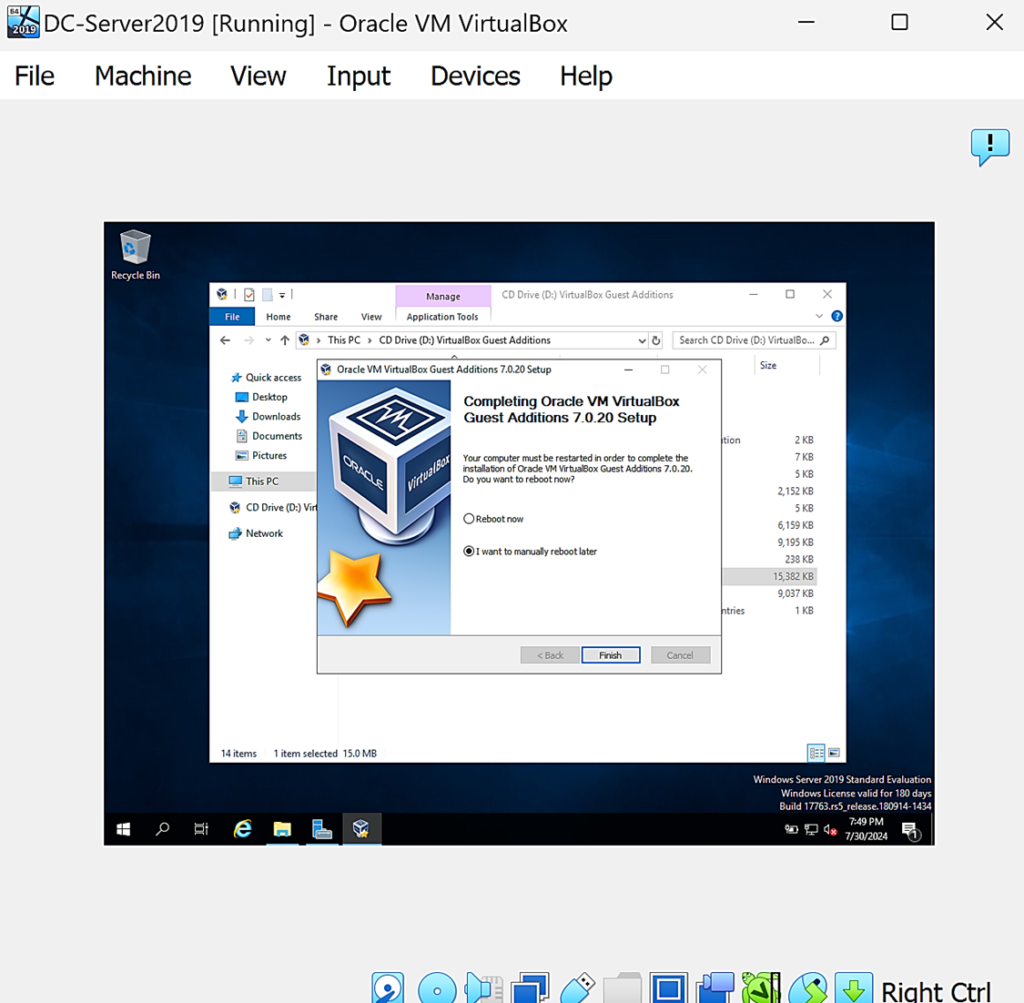
Select I want to manually reboot later > Finish:
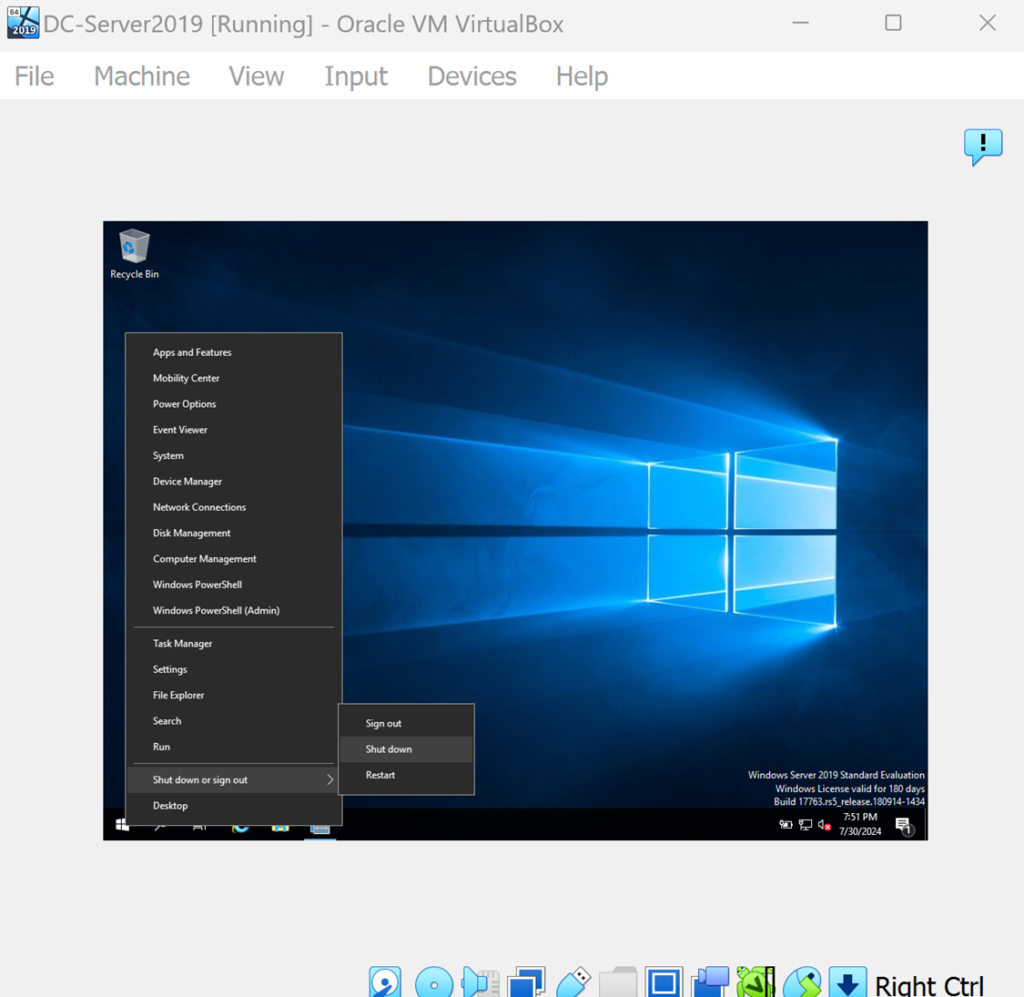
Now Shutdown the VM:
Now Start DC-Server2019 again (either double-click on VM on left or use the green Start arrow):
Insert Ctrl+Alt+Del again:
Login with Password1:
Now we can resize the VM screen, and the mouse doesn’t lag like before:
That’s the benefit of installing the Guest Additions
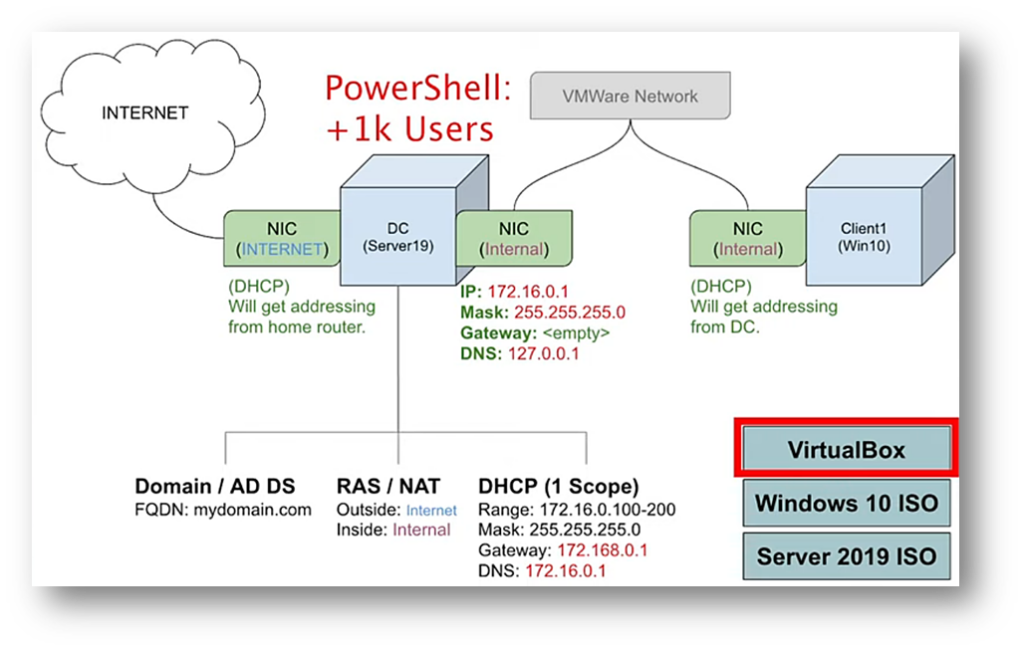
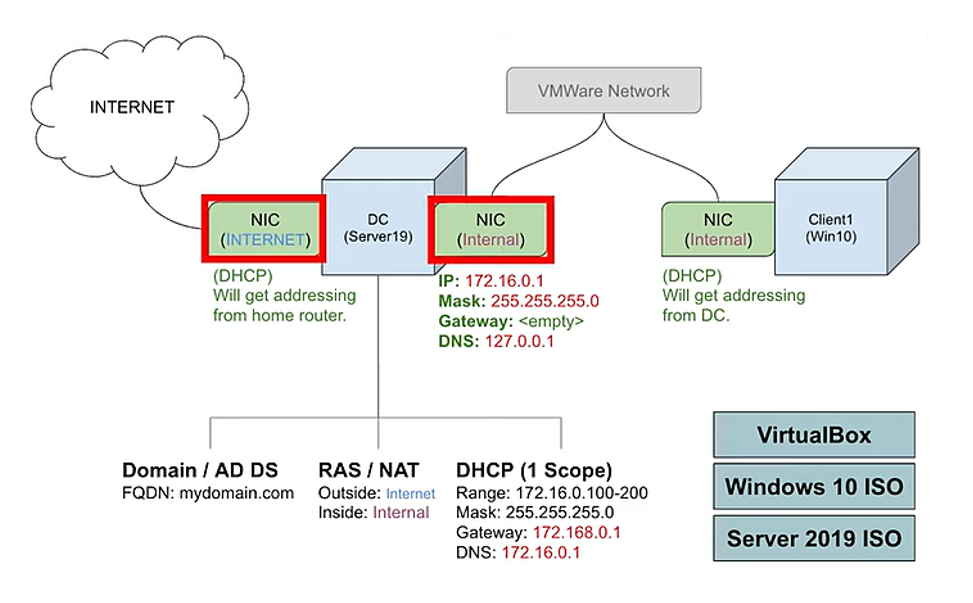
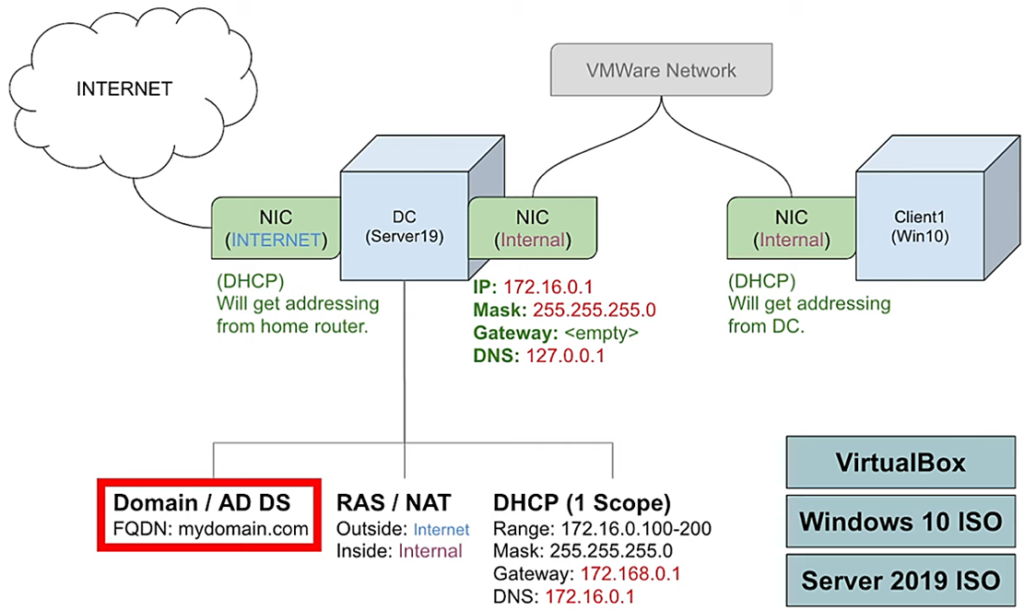
Now we are going to setup our IP addressing. Looking back at the Network Diagram, we have two NICs. One that’s dedicated to the internet and one that we’re going to use for our internal network:

The one that’s on the INTERNET will get an ip address automatically from your home router, so we don’t have to do anything for that one. But for the Internal NIC, we will have to set up manually.
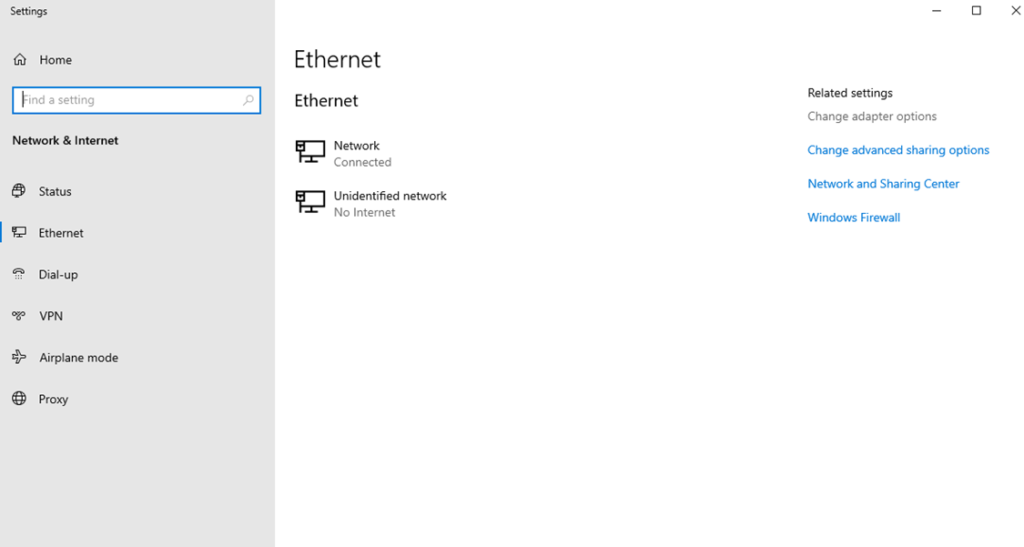
So, on the VM, click on the Network icon on the bottom right in the system tray > then click on Network when the popup shows:
Select Change adapter options:
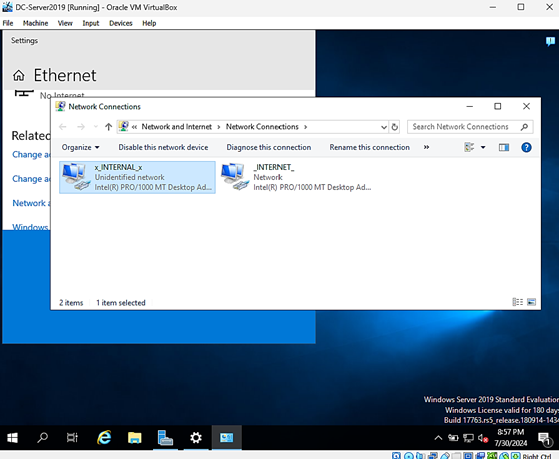
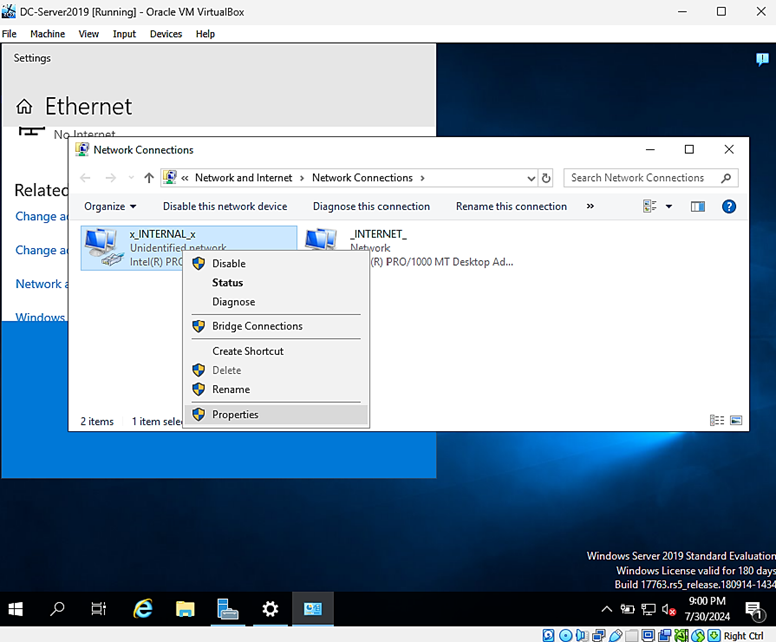
Now notice that we have two network adapters. So, we have to figure out which one is which and name them appropriately because we’ll be using them later when we’re setting up routing:
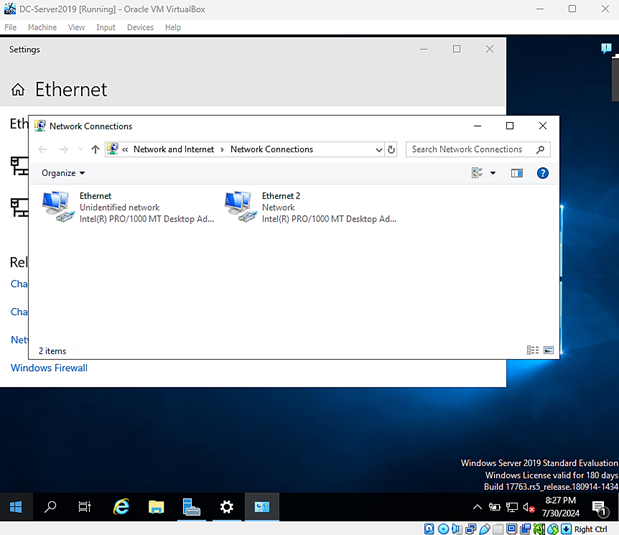
So, let’s check out the Ethernet2 one. Right-click on Ethernet2 >> Status >> Details:
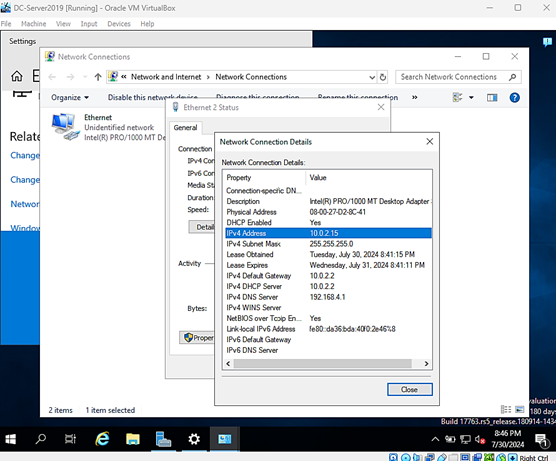
This looks like your proper home ip address, the one that’s connected to your home network.
So, let’s rename this one by: right-clicking >> rename:
Then rename it to _INTERNET_
Now let’s look at the other adapter Ethernet:
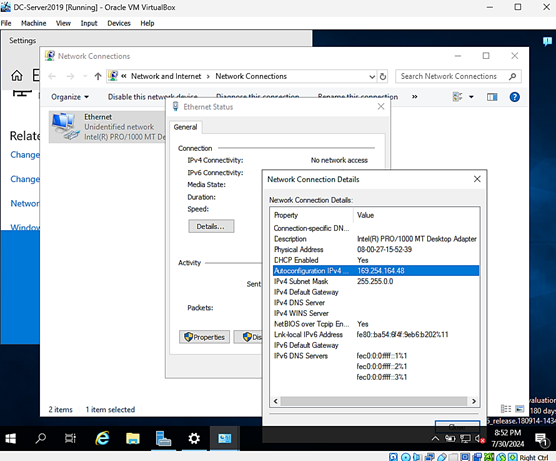
This adapter is the internet adapter and has been given an Autoconfiguration IPv4 address of 169.254.164.48. This basically means that this adapter was looking for a DHCP server in order to get an IP address, but it was unable to find the DHCP server. So, we know it’s the internal adapter.
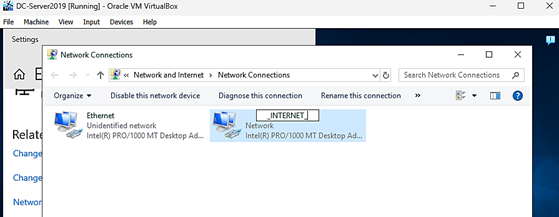
So go ahead and rename this adapter to x_INTERNAL_x
Now we will give an ip address to our x_INTERNAL_x adapter.
Right-click on the internal adapter >> Properties
Double-click on Internet Protocol Version 4 >> Use the following IP address:
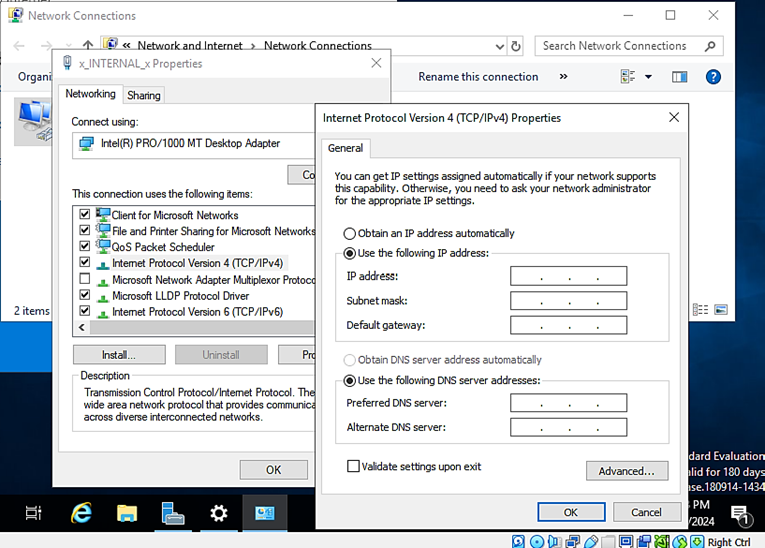
Input the IP info from the Network Diagram:
We’re going to assign the following ip address to our Internal:
172.16.1 and then the mask 255.255.0.0
We’re not going to use a default gateway because the domain controller itself is going to serve as the default gateway. Remember the domain controller has two NICs, one on the internet and one on the inside network.
For DNS server, when we install Active Directory, it automatically installs DNS, so for right now, configure this internal adapter to use itself as the DNS server. So, you can either enter its own ip address but even better would be to enter its loopback address of 127.0.0.1 which is kind of a generic address that refers to itself and it always up. So, whenever a computer pings like 127.0.0.1, they’re actually pinging themselves.
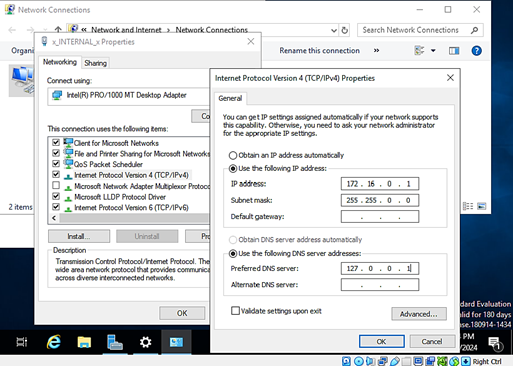
Hit OK
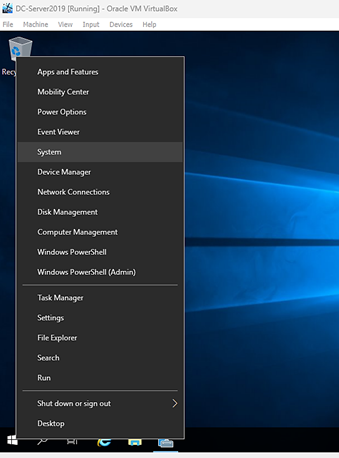
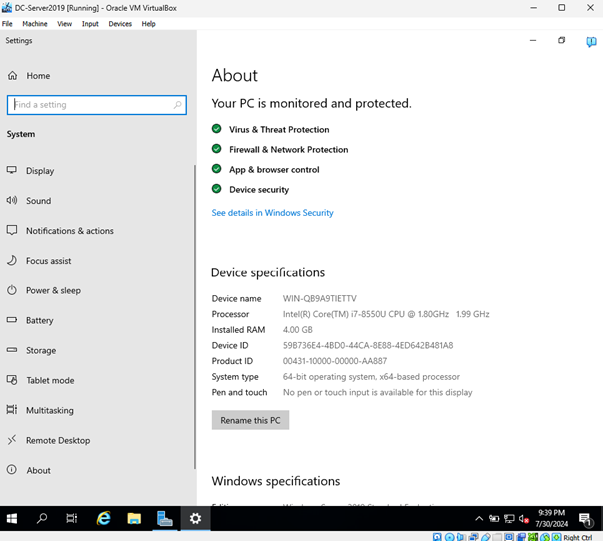
Now let’s rename this PC:
Right-click the Start menu >> System:
Click Rename this PC:
Change the name to DC (which stands for Domain Controller):
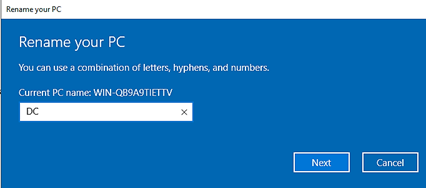
Hit Next:
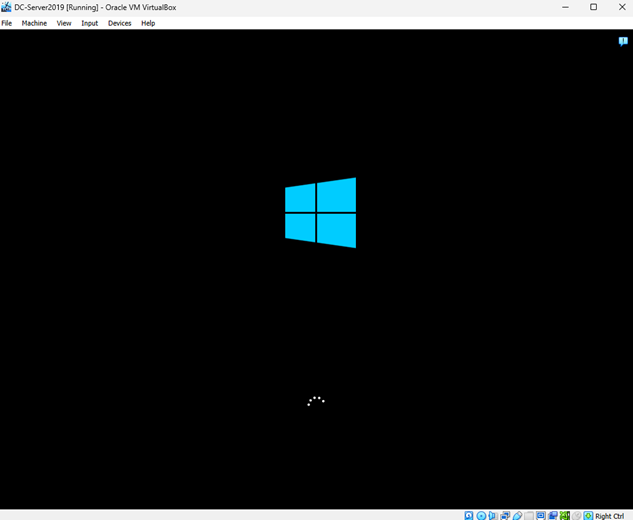
Hit Restart Now:

The VM will restart:
Insert Ctrl+Alt+Del again:
Login with Password1:
Install Active Directory Domain Services and Create a Domain:
Now we are going to install Active Directory Domain Services and then we’re going to create a domain:
Click on Add roles and features:
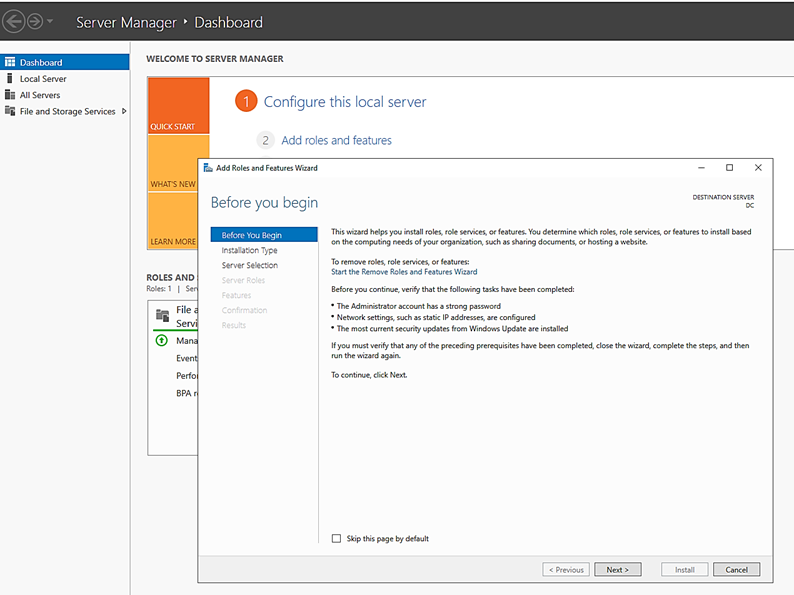
Hit Next on the first screen:
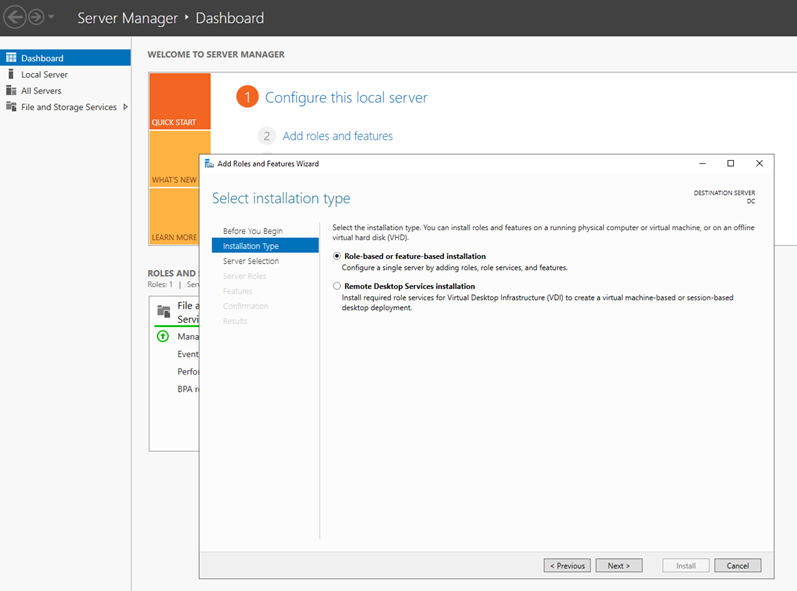
Hit Next:
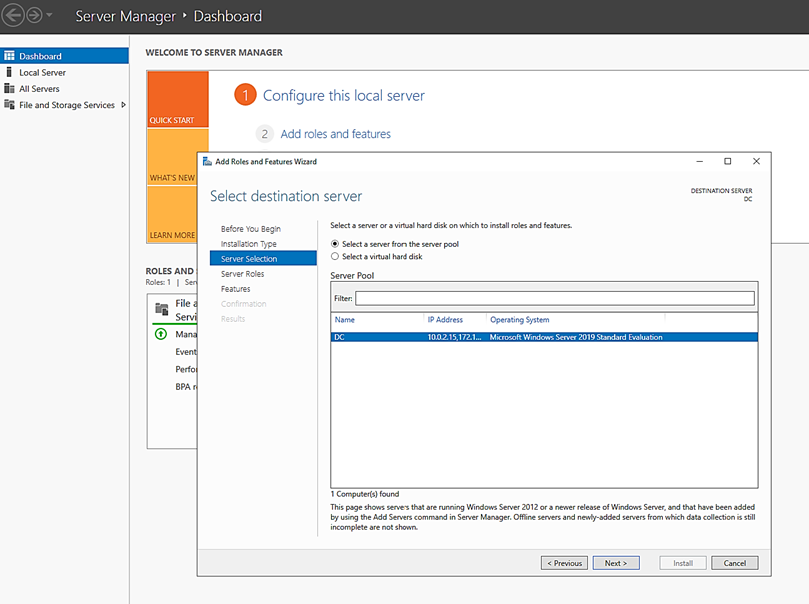
And this is where you pick the server where you want to install Active Directory. Hit Next:
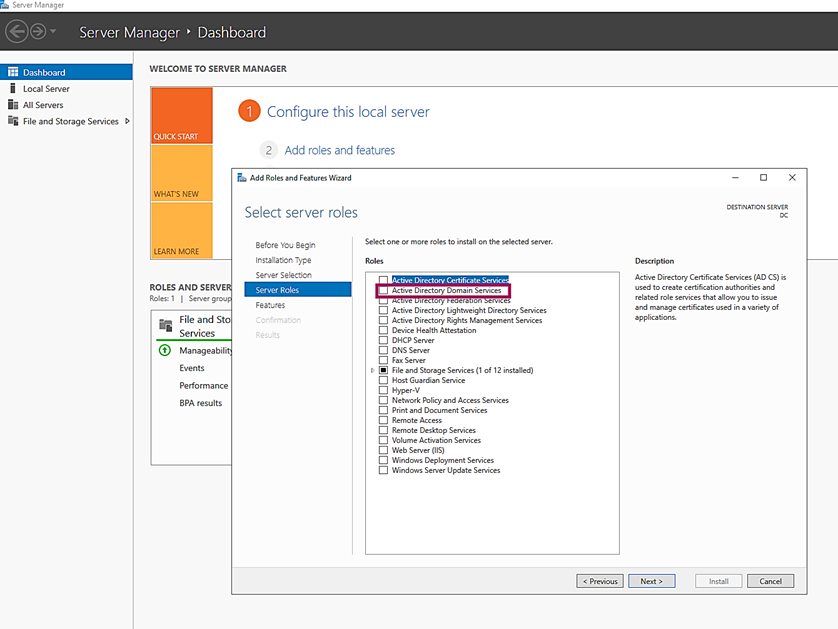
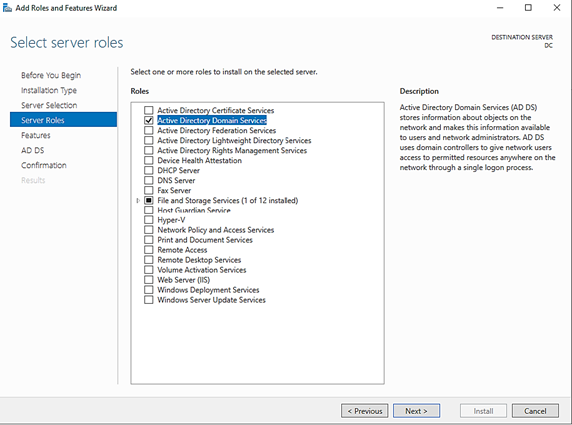
Choose Active Directory Domain Services:
Then Add Features:

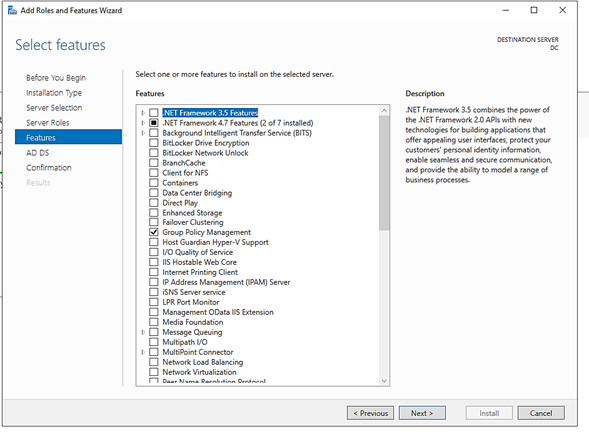
Hit Next:
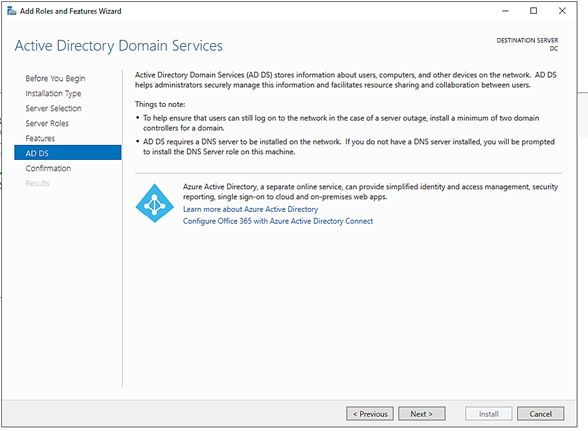
Hit Next:
Hit Next:
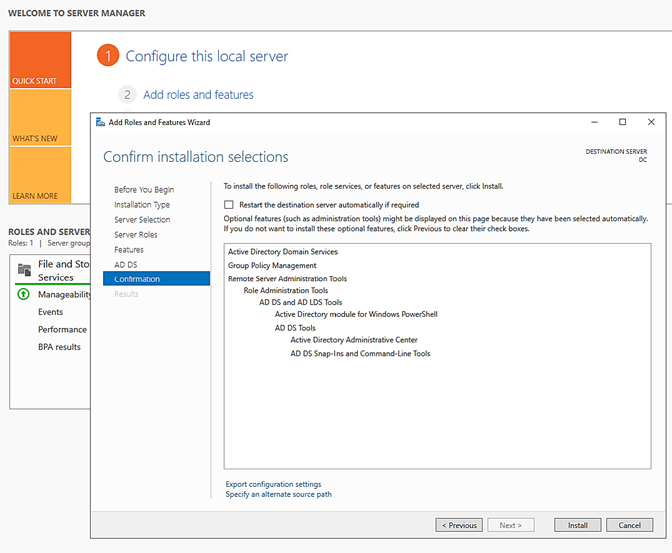
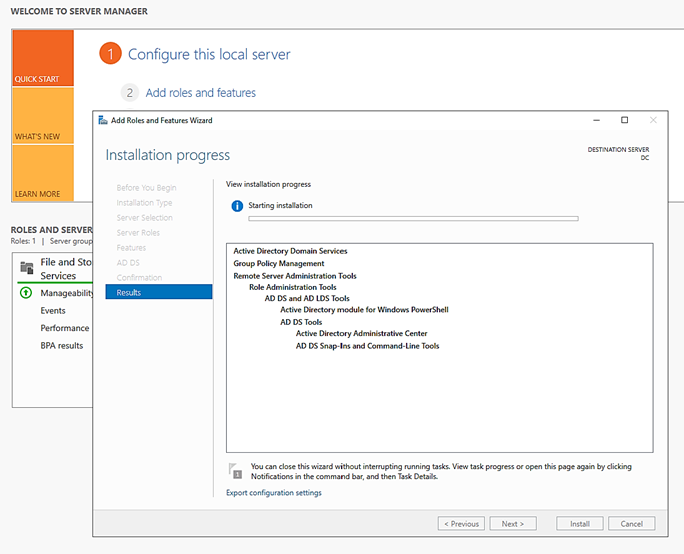
Then hit Install:
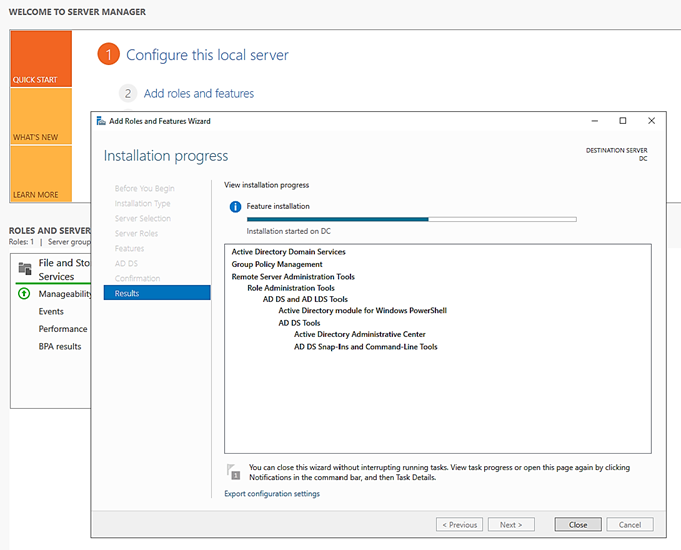
Depending on how much RAM and CPUs you gave your VM, this could take a while, but you’ll get there:
When the Role is finished installing, hit Close:
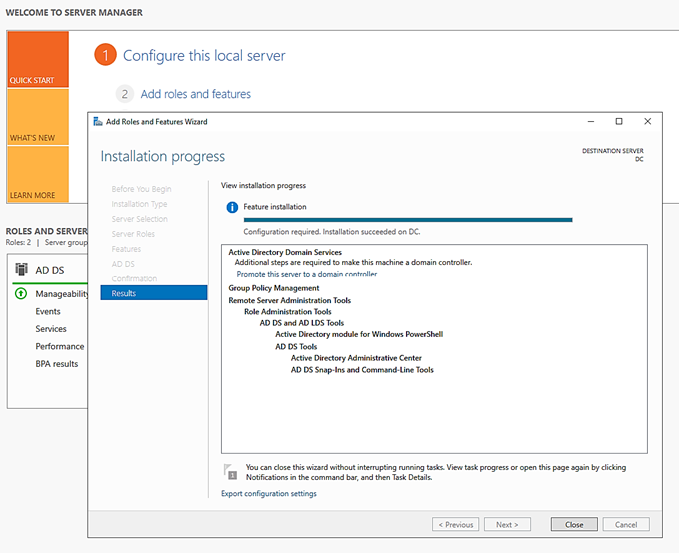
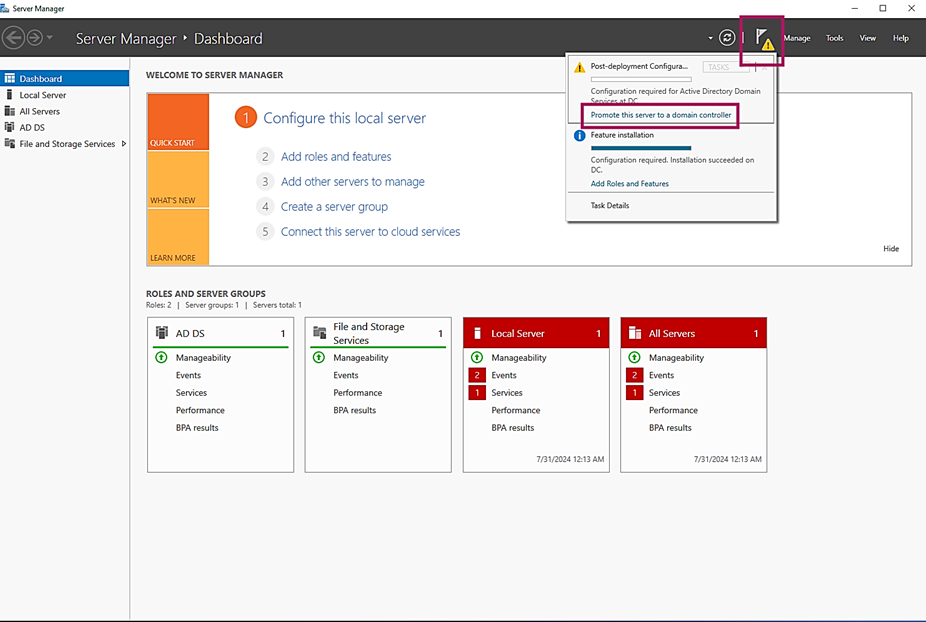
You’ll now see a little yellow flag in top right corner, click the yellow flag and then click on Promote this server to a domain controller:
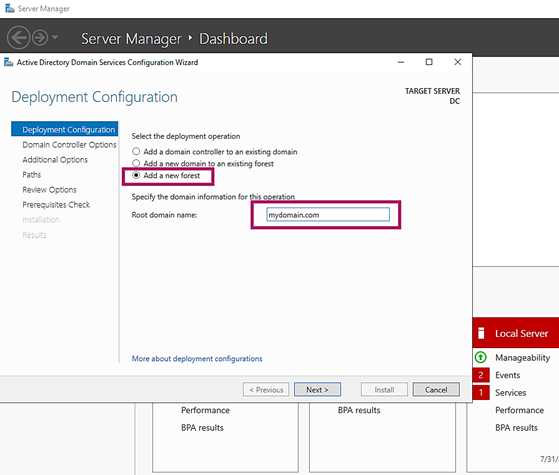
On the next popup select Add a new forest and give the Root domain name mydomain.com and hit Next:
On the next screen just put Password1 as the password (we’re probably never going to use this) and hit Next:
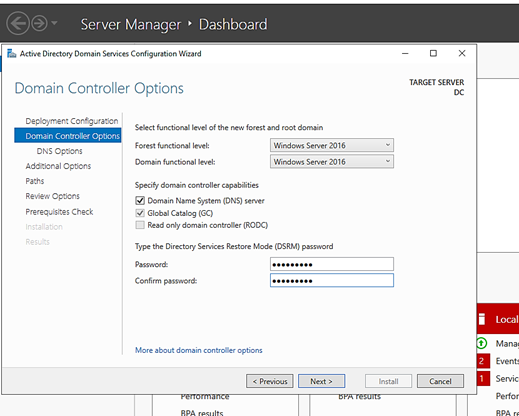
Hit Next:
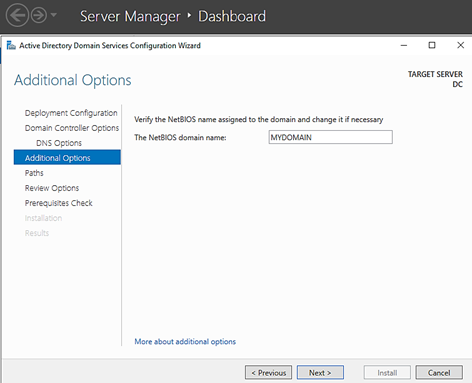
On the next screen you’ll notice the NetBIOS name auto populates to MYDOMAIN, go ahead and hit Next:
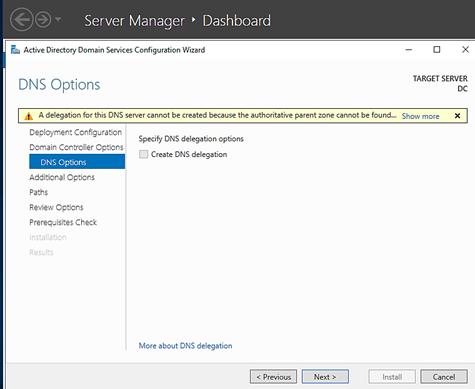
Hit Next:
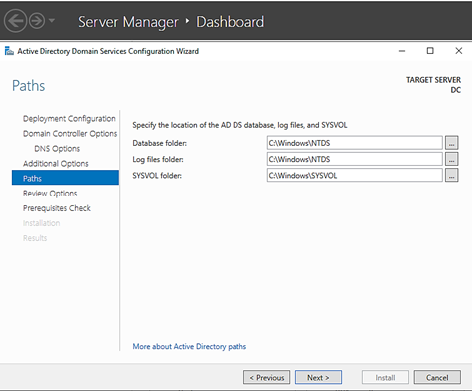
Hit Next:

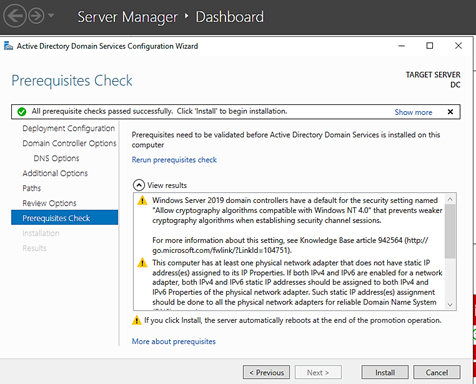
It will run some checks and then you can hit Install:
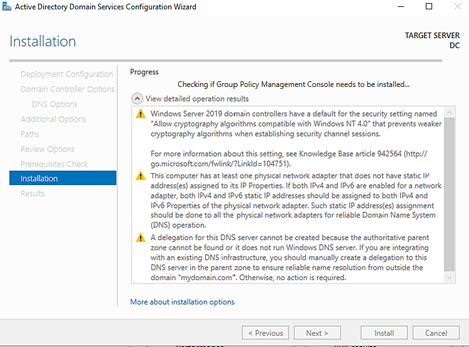
Install starts:
When it’s finished, it will automatically restart:
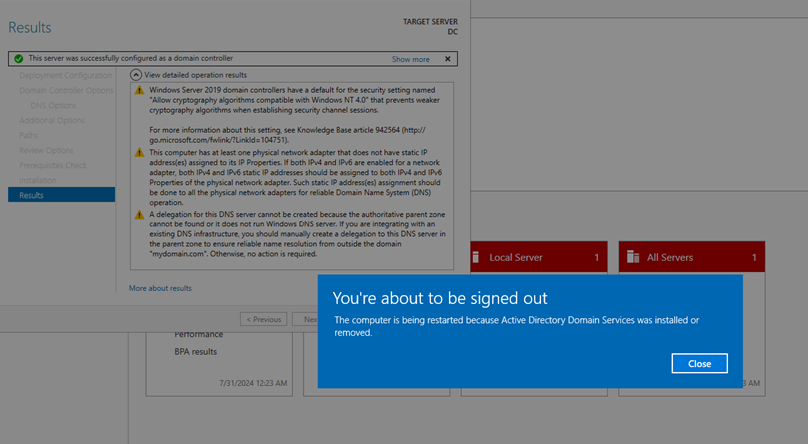

Restarting:
After forever, we can finally login again. Issue the Ctrl+Alt+Del again:
Notice we now have MYDOMAIN\Administrator which we didn’t have before. Login with Password1:

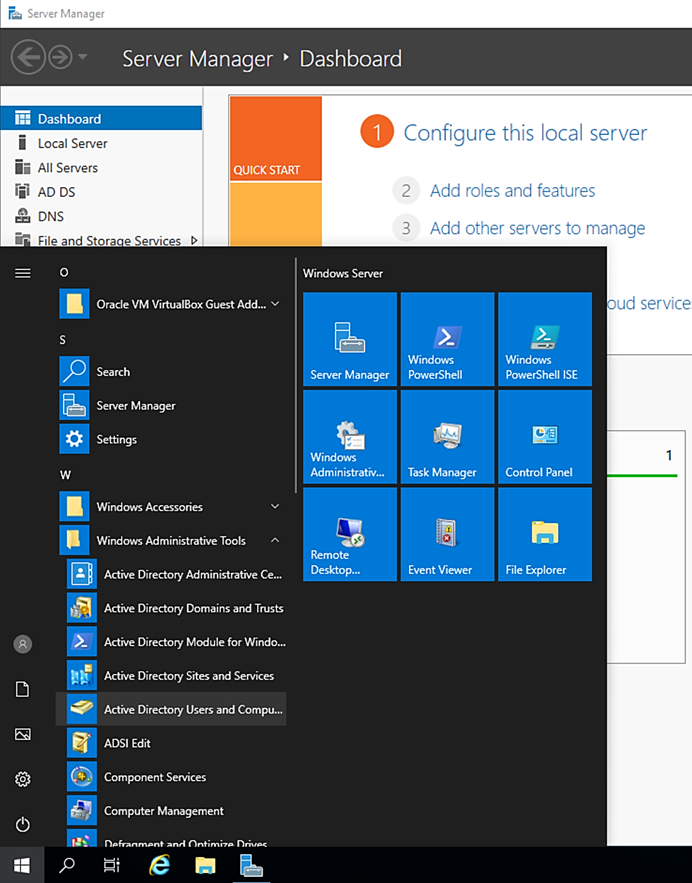
Now we’re going to create our own dedicated domain admin account instead of using the built-in administrator account. We can do that by going to Start > Windows Administrative Tools > Active Directory Users and Computers:
Notice our brand new mydomain.com:
