
Archive
Deploy an Active Directory server using Microsoft Azure Virtual Machines (pt 2)
Welcome back to Deploying an Active Directory server using Microsoft Azure Virtual Machines (pt 2). In part 1 we setup two VMs (Server2019 and Windows10). We won’t be doing anything with the Windows10 VM but focusing on deploying Active Directory (AD) on Server2019. Let’s get to it!
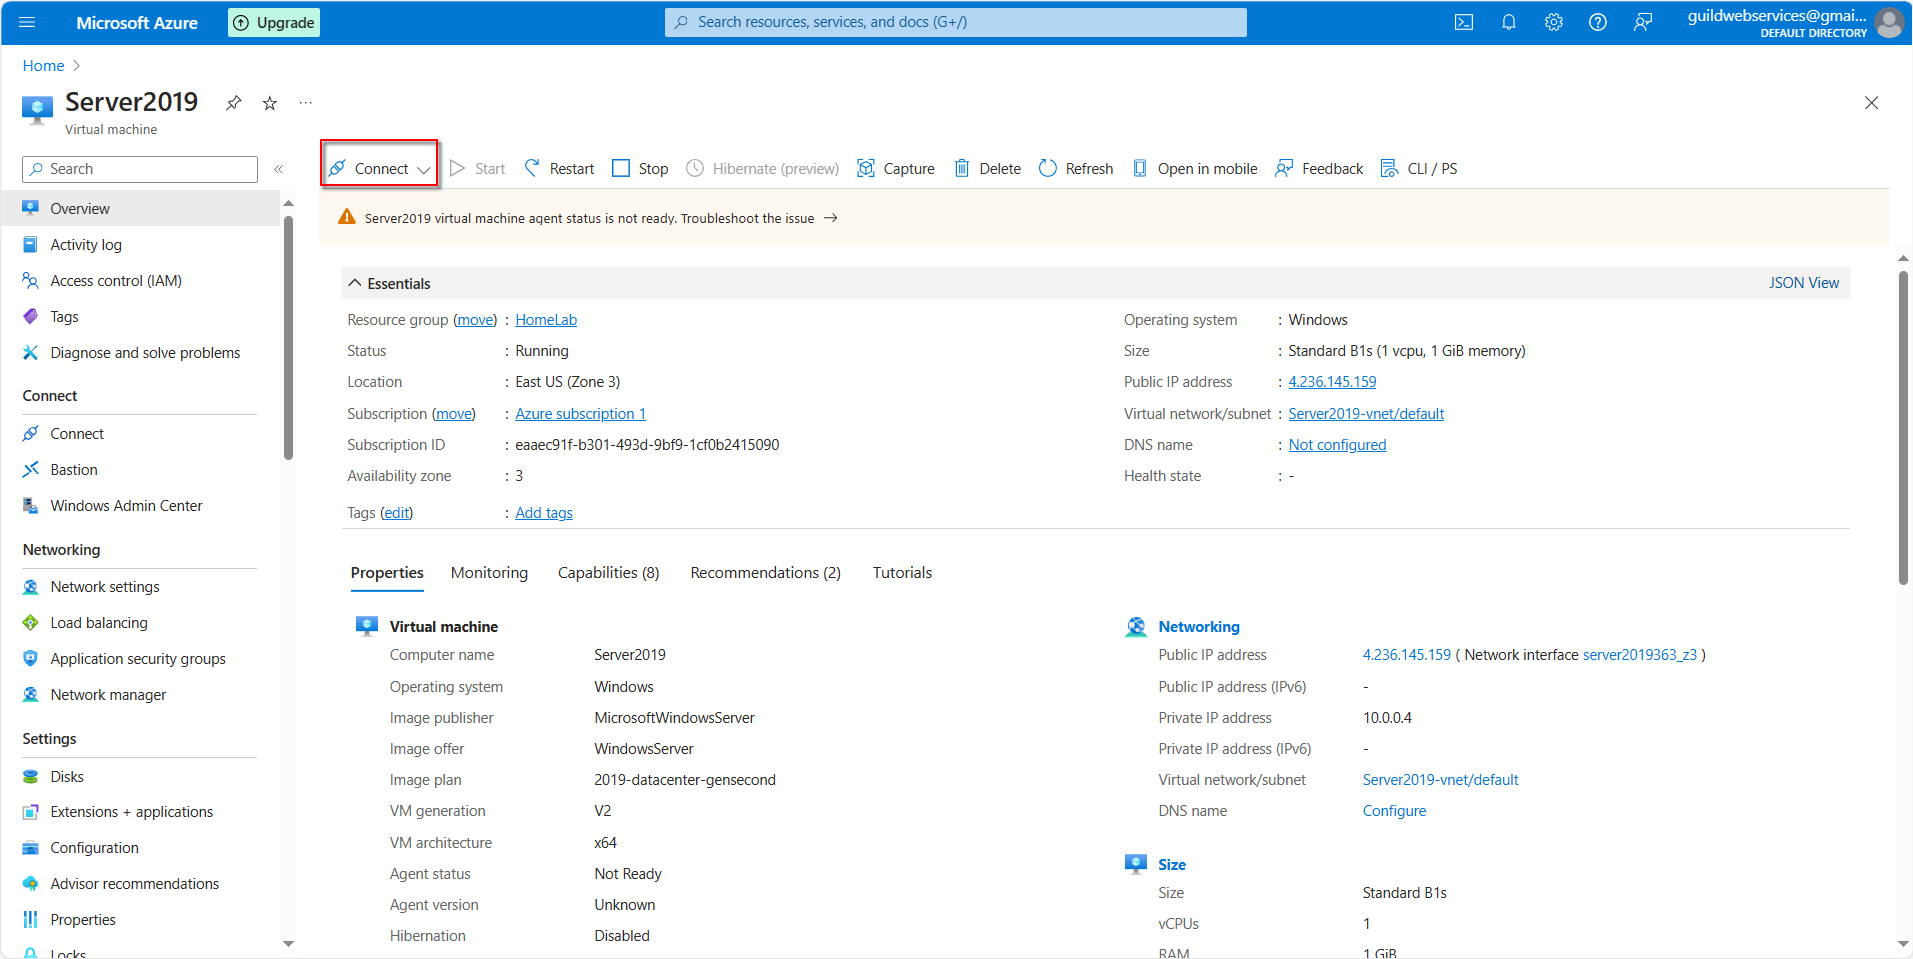
From the Azure Dashboard you can see our two VMs under Resources. Click on Server2019:

Start Server2019 (refresh screen for status checks. you might get a message across screen stating it’s not ready, but in the Notifications in top right it states it’s ready):

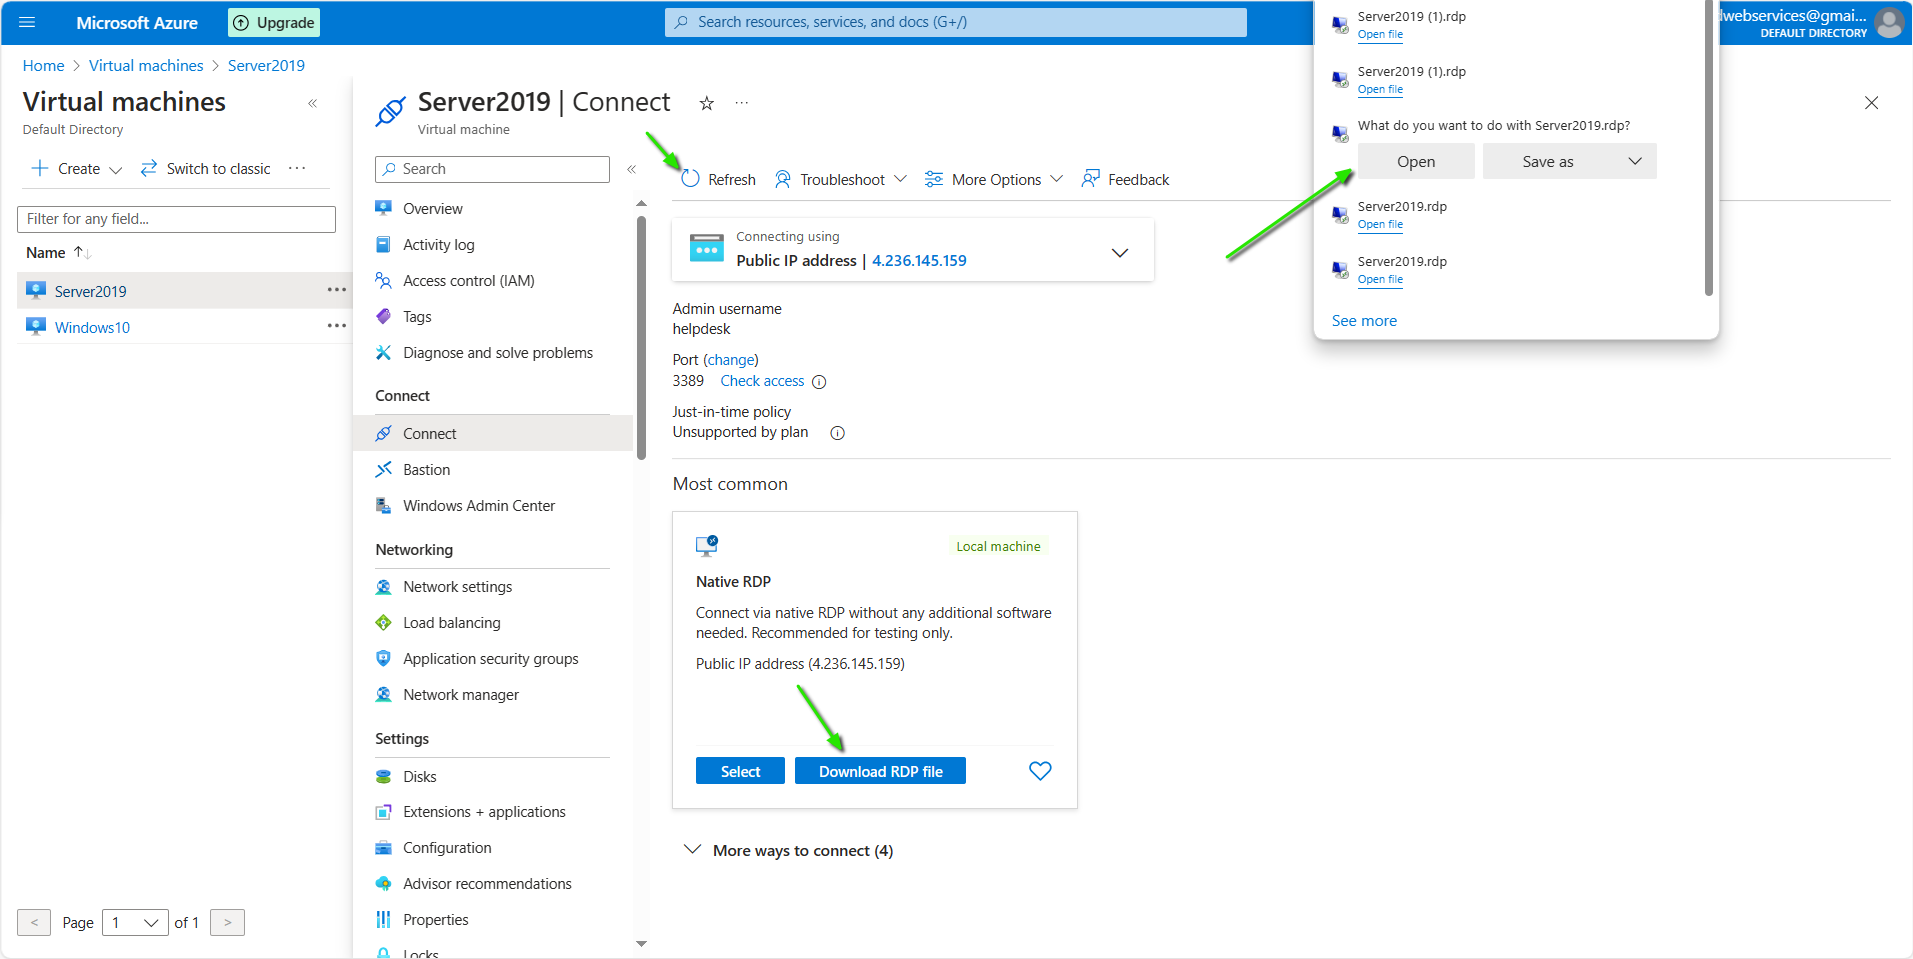
Connect to Server2019 via RDP (Connect button > Download RDP file > Open > etc):
This brings us to the Server Manager > Dashboard:

In part 1, we’ve already renamed the Domain Controller from Server2019 to Miami-01. Now we will add some roles and features to this domain controller. In the top right go to Manage > Add Roles and Features:

Hit Next:

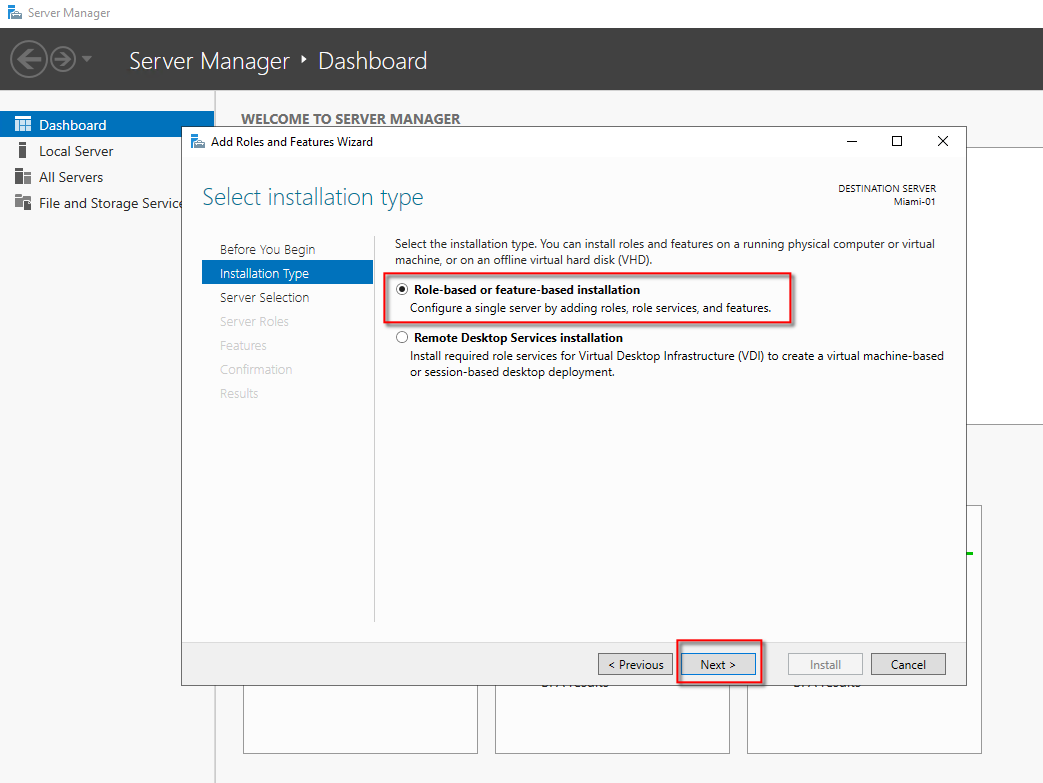
Select Role-based or feature-based installation > Next:
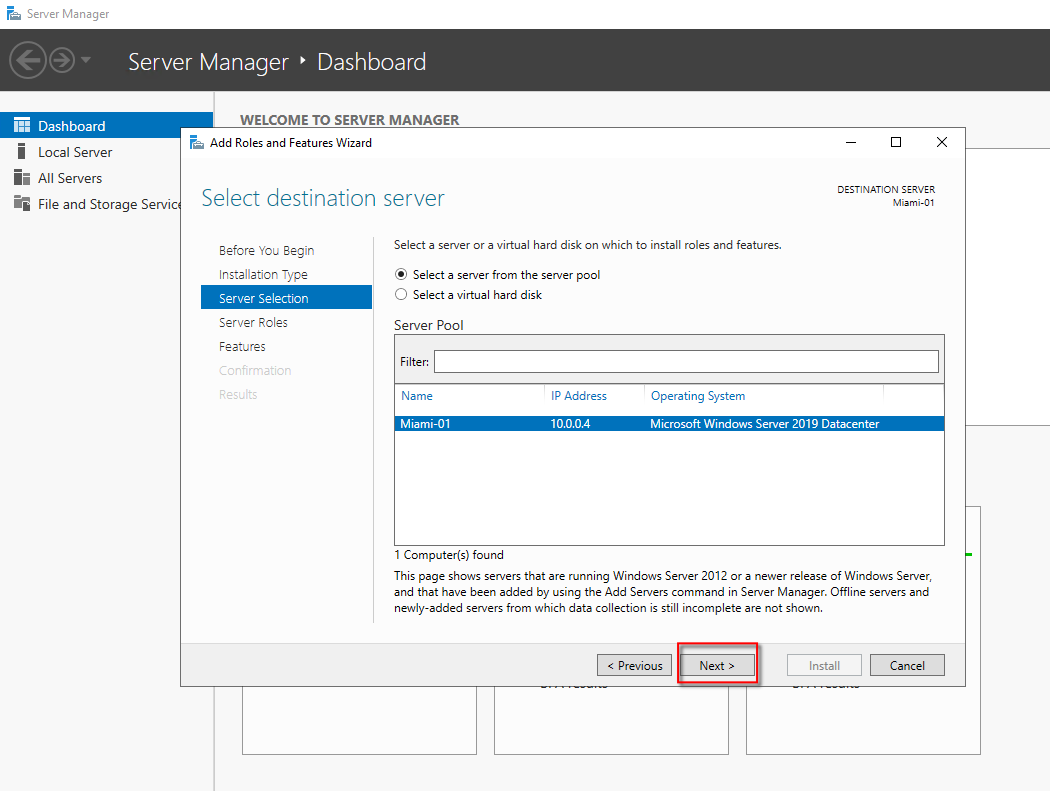
Select Next:
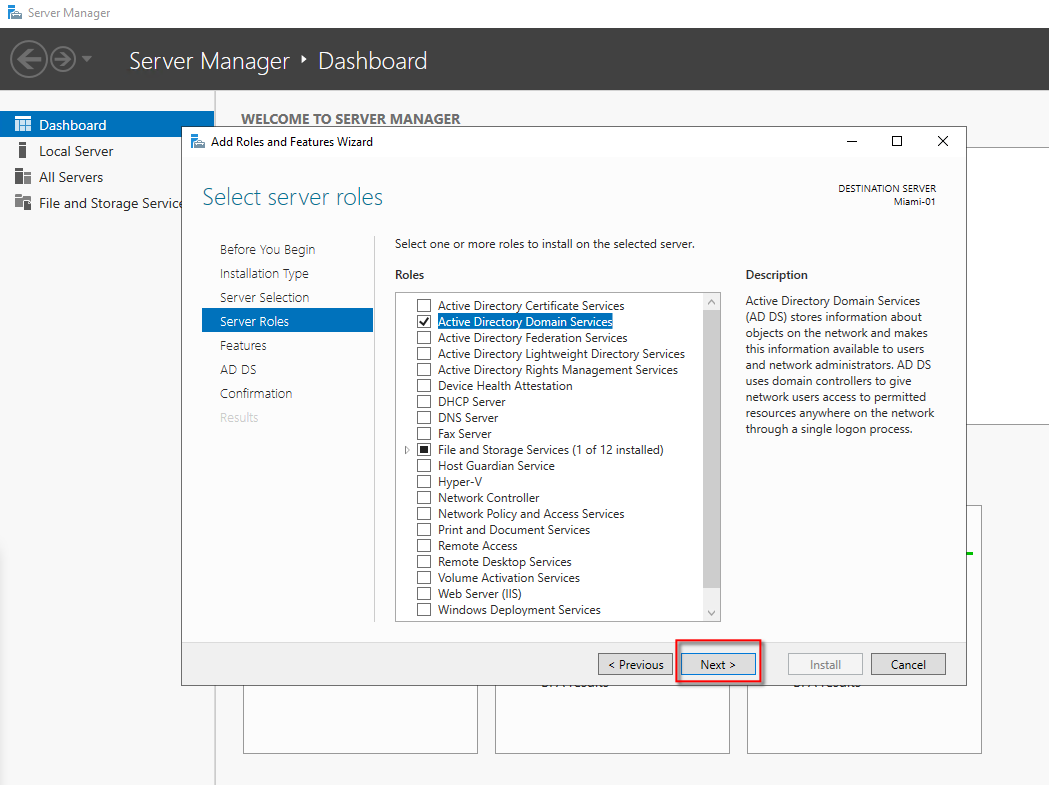
Select Active Directory Domain Services:
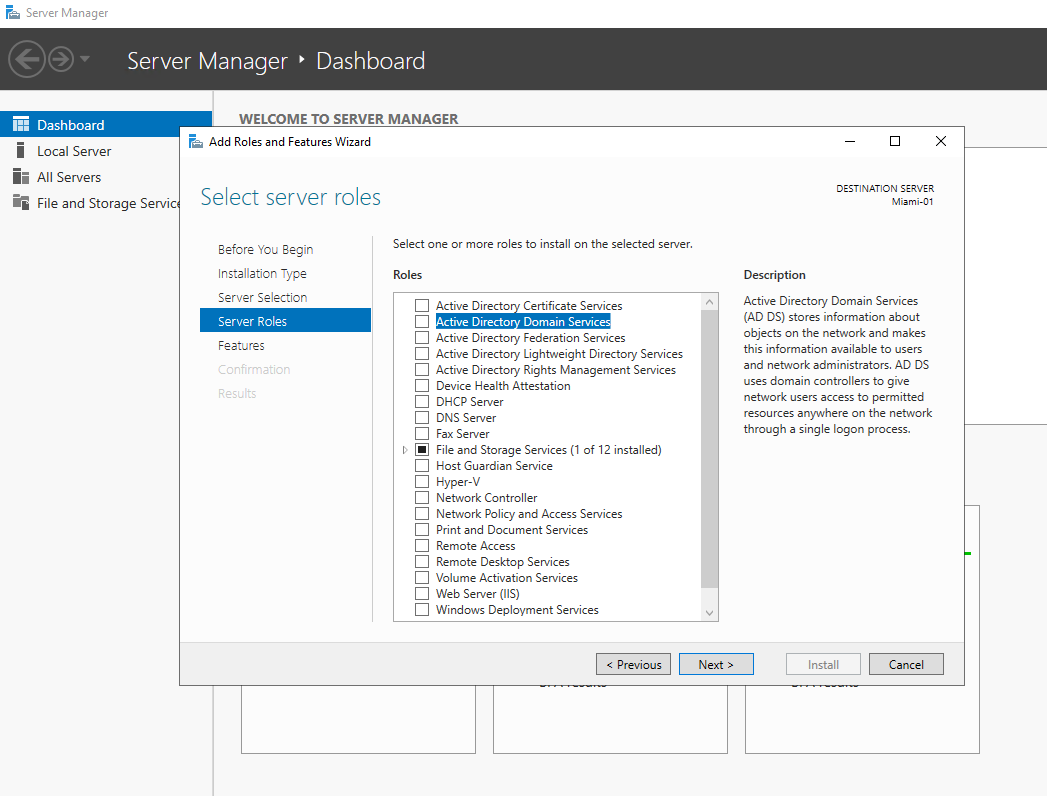
When you add the role it will automatically add additional features. Just click Add Features:

Select Next on Server Roles screen:
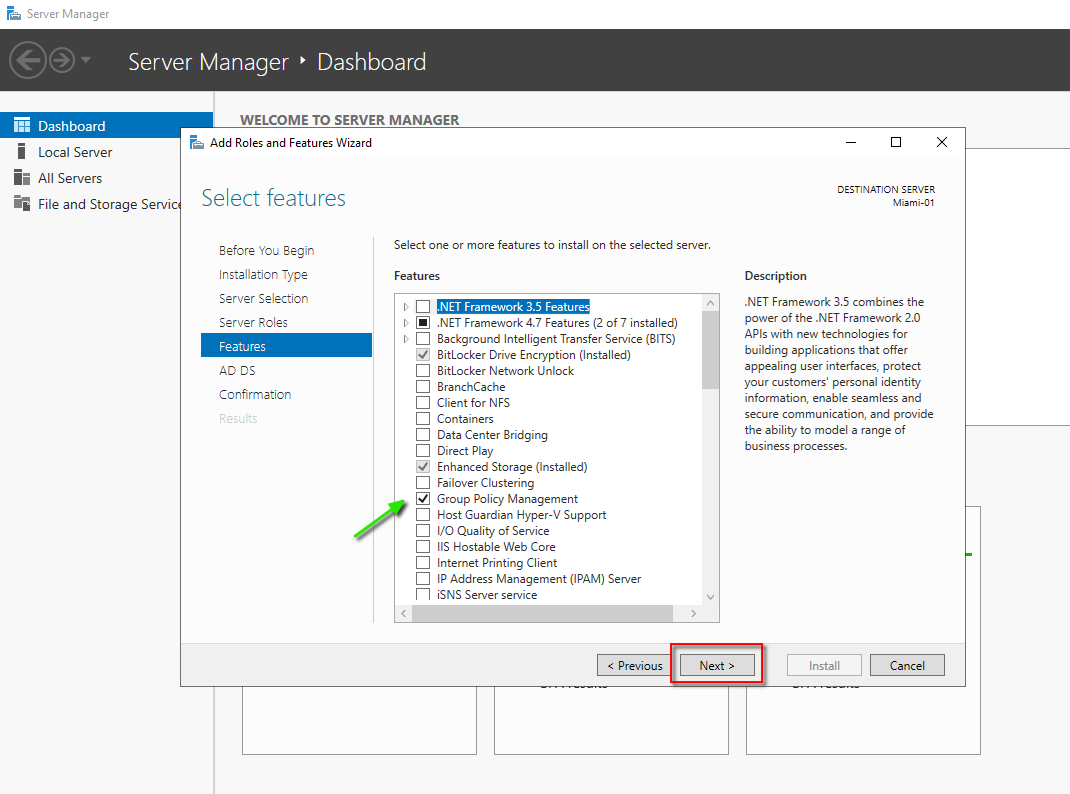
Select Next on Features tab (notice the Group Policy Management feature has been added):
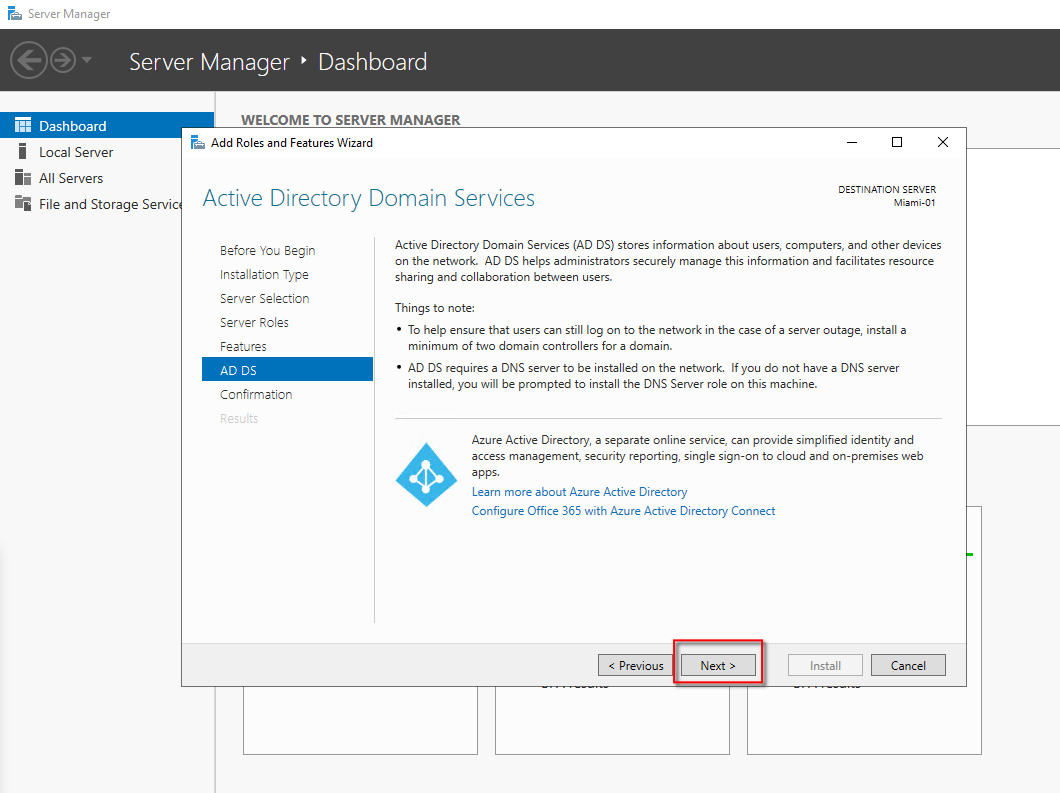
Select Next on the AD DS screen:
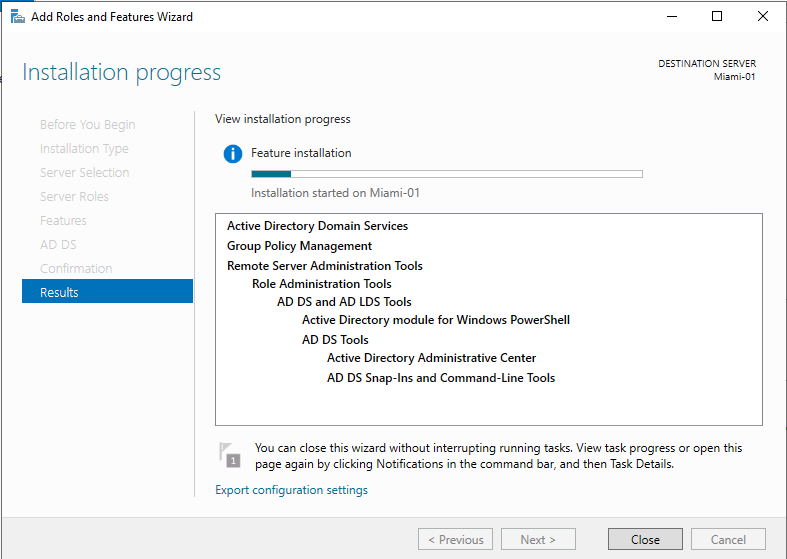
Select Install:
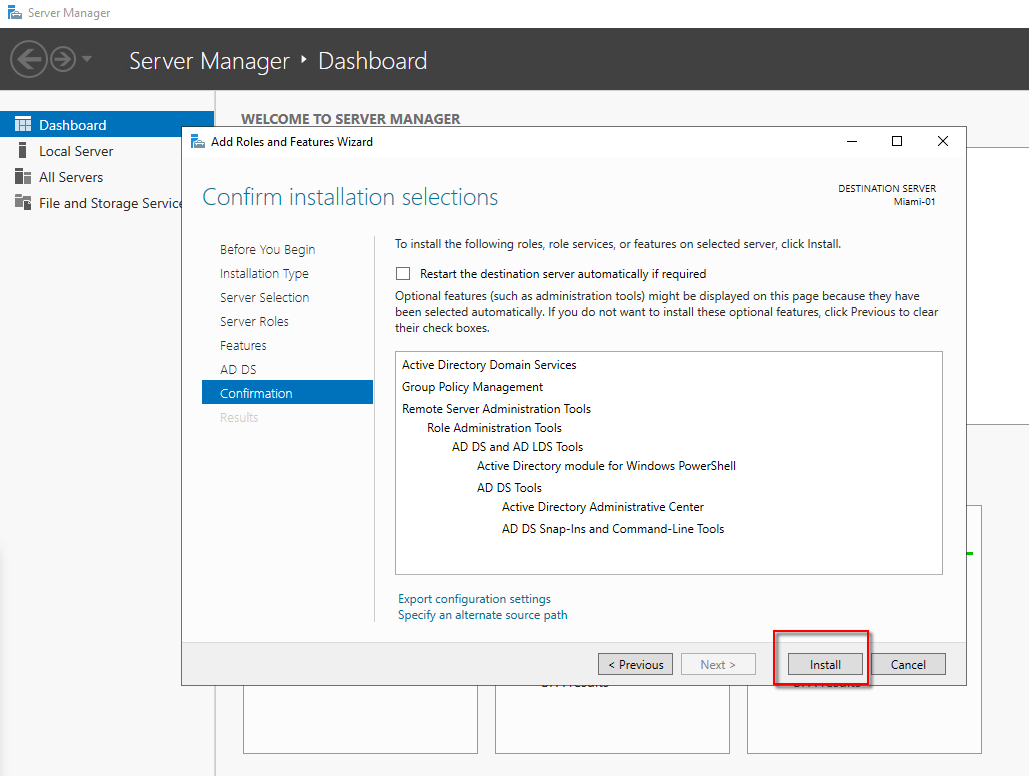
The install could take a couple of minutes:
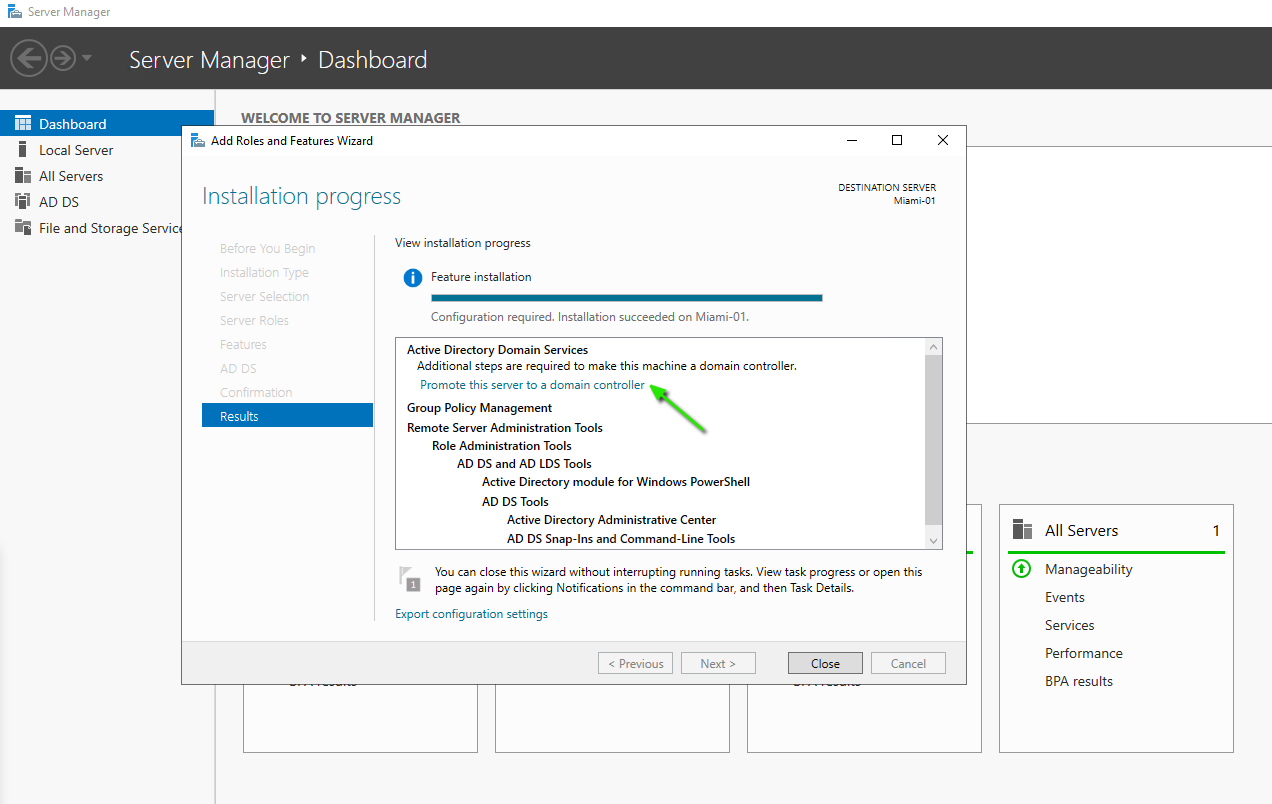
When the installation is complete, click Promote this server to a domain controller:
Select Add a new forest then give any name for the Root domain name (I called it infotechaaron.local). Followed by Next:

Type any password you want for Directory Services Restore Mode (DSRM) and click Next:
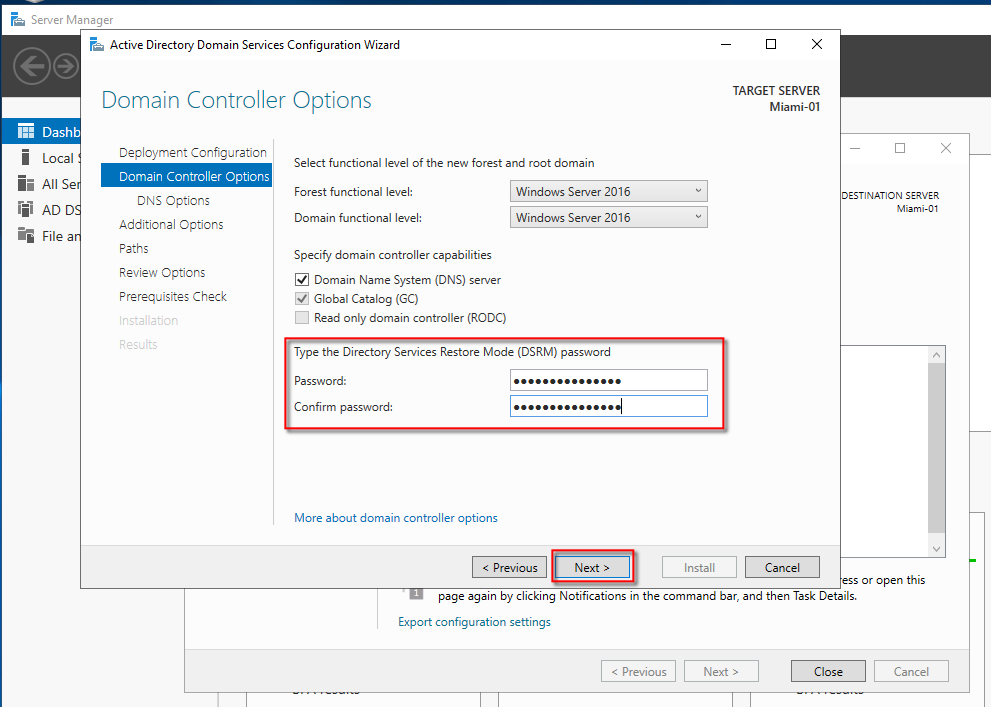
Select Next on DNS Options:

By default the NetBIOS domain name will autofill. Select Next:

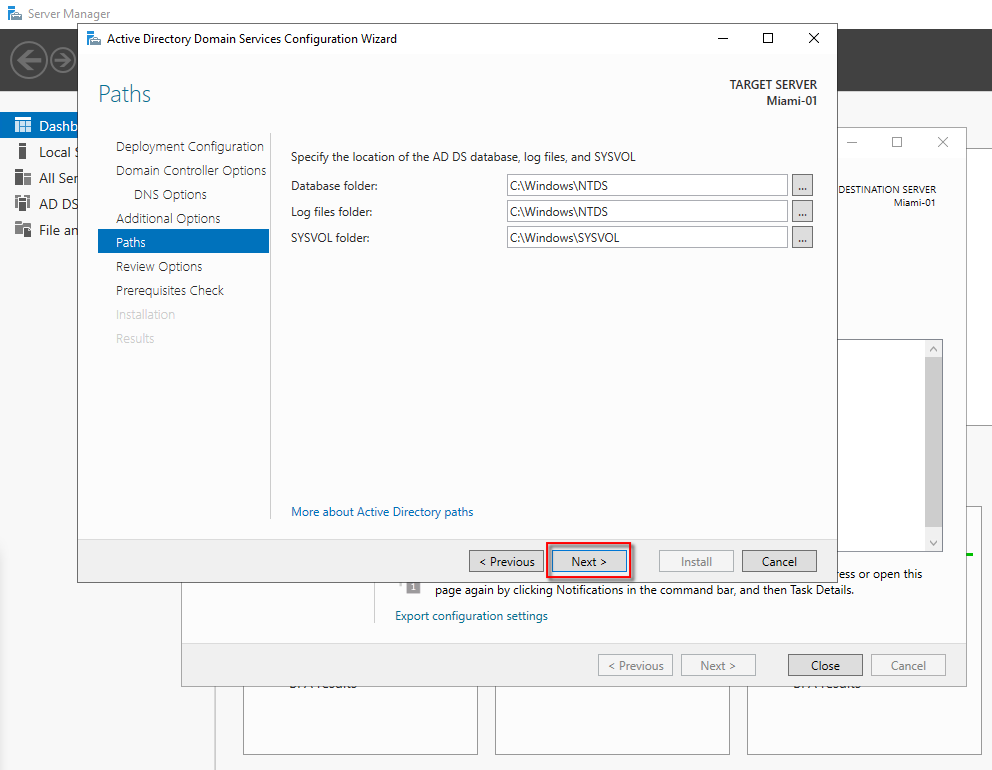
Select Next on the Paths screen:
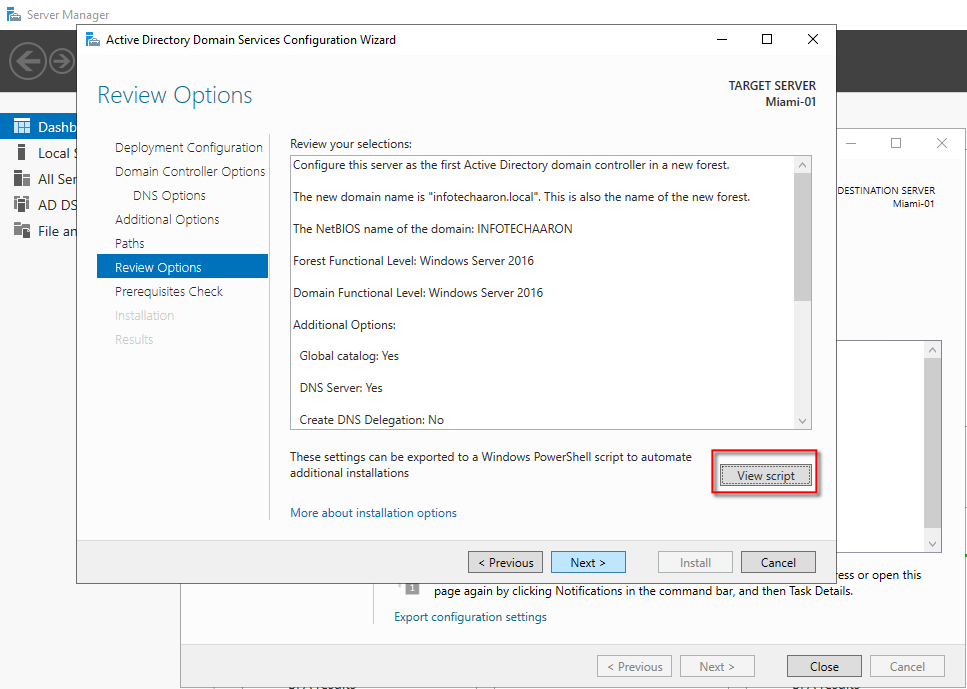
On the Review Options screen you have two options for installing AD. You can continue in the wizard by selecting Next, or you can View Script and run that script in PowerShell. If you choose to run the script in PowerShell:
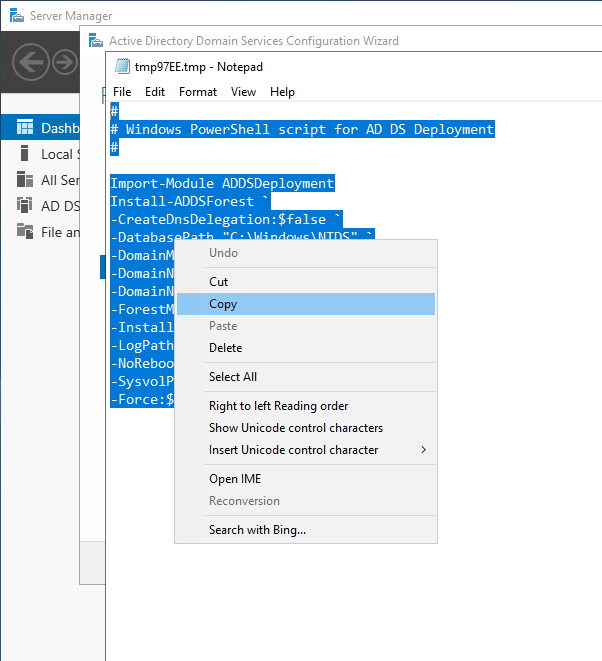
Copy the script:
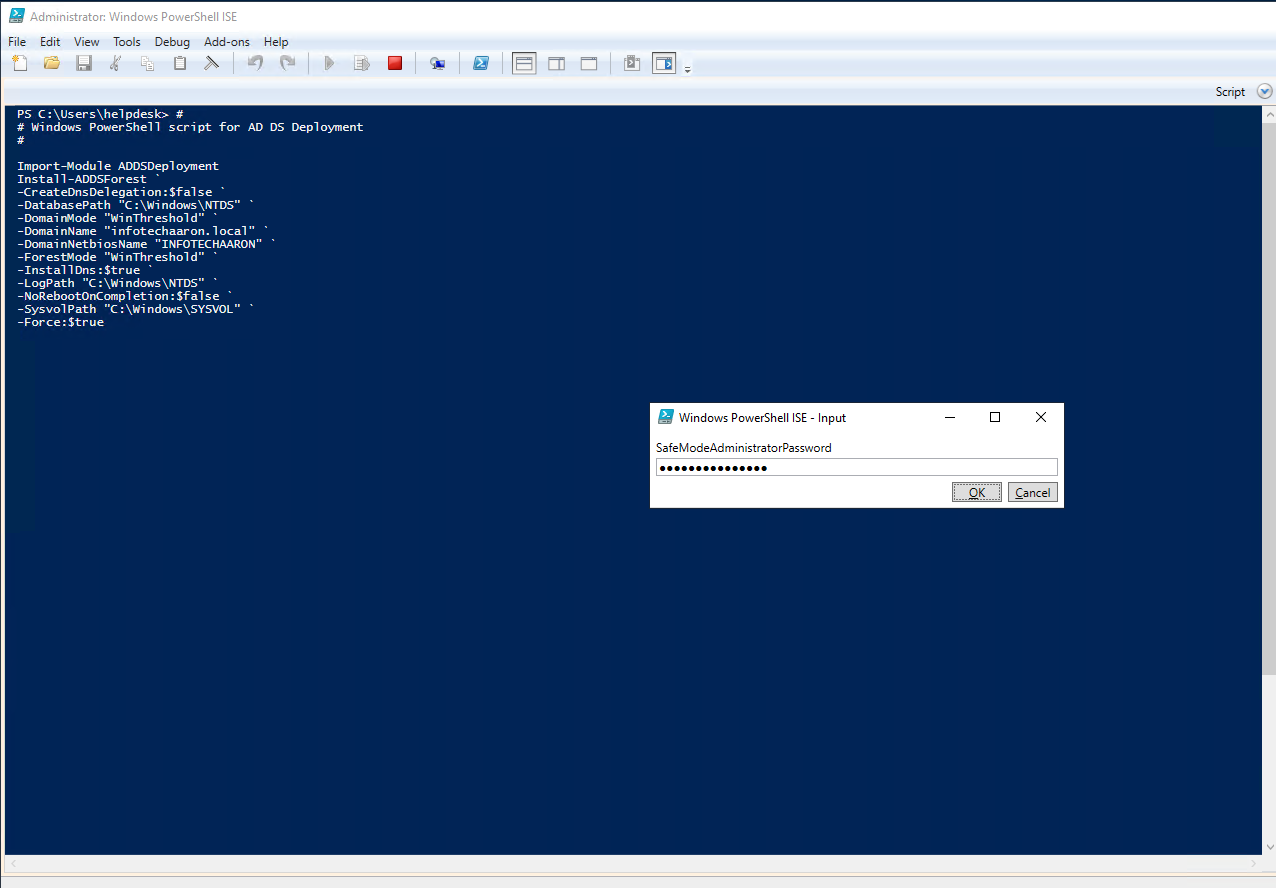
Open PowerShell under admin mode and paste the script in PowerShell’s CLI and press enter to install.

It will then sign you out. Go and RDP connect in again after a couple minutes:
For some reason when I reconnected to the Server2019, it was spending a lot of time on the “Group Policy Client”, so be patient as it sets this up:
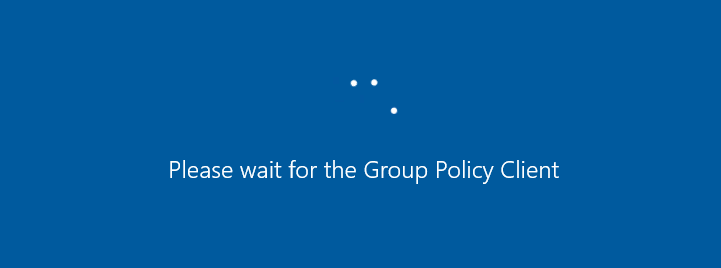
FYI: It took about 5 minutes for me to be able to connect to the VM again. Your patience is required lol.
Ok, I’m back into Server2019 and Active Directory has been installed:

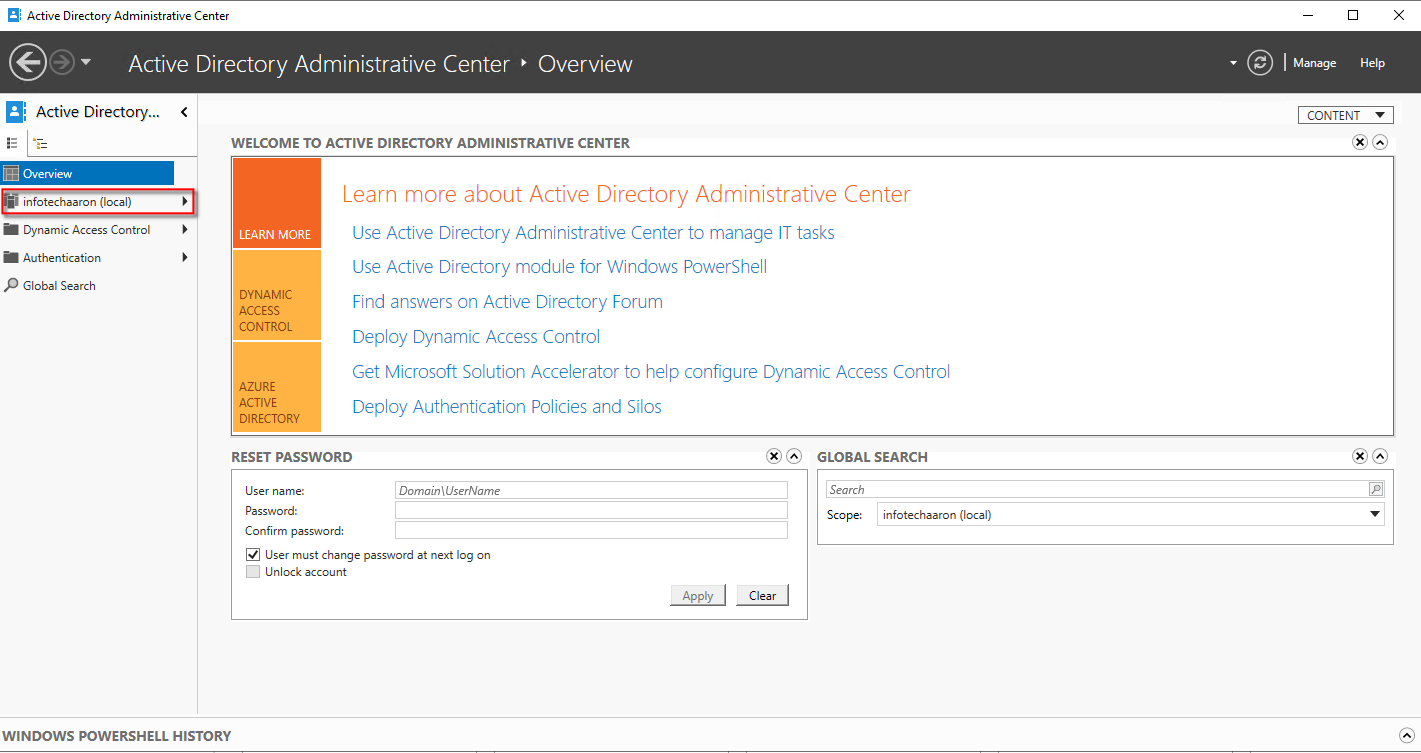
Now go to: Start > Windows Administrative Tools > Active Directory Administrative Center:

When AD Admin Center opens go to the infotechaaron (local) tab:
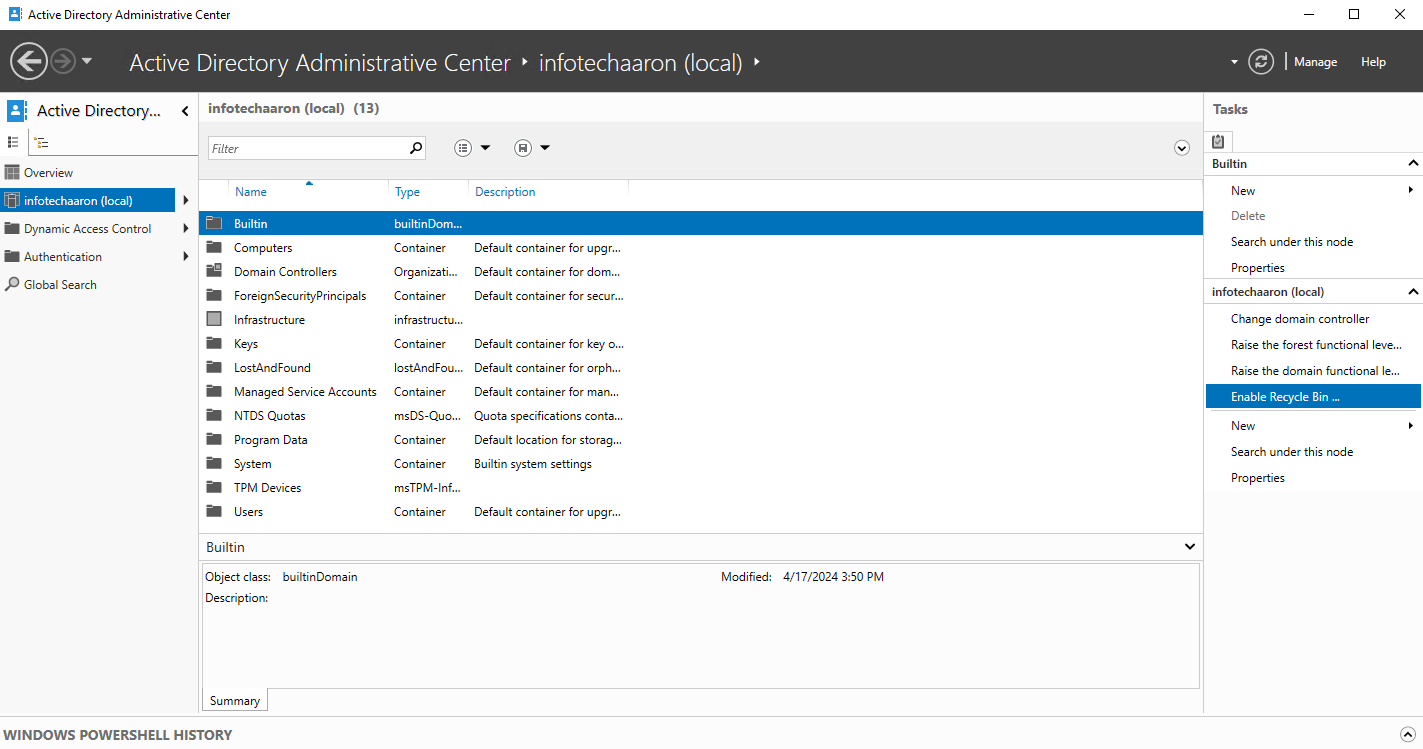
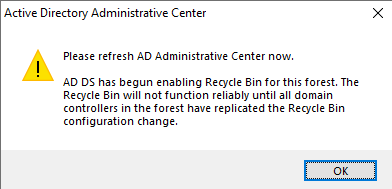
From you (local) tab, a best practice is to click on Enable Recycle Bin (highlighted in blue on the right). What this does is creates a Recycle Bin which an admin can use if they accidentally delete a user. If that happens, just go into your Recycle Bin and re-enable that user (which will place the deleted user back into the same place it was deleted from. All permissions and groups remain intact).
Click OK:
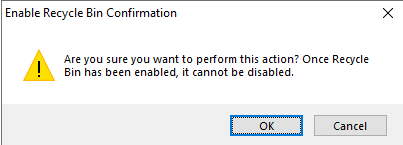
Click OK:
Refresh the AD Admin Center a couple of times (when Enable Recycle Bin is greyed out, it’s enabled):

Go to Tools > Active Directory Users and Computers:

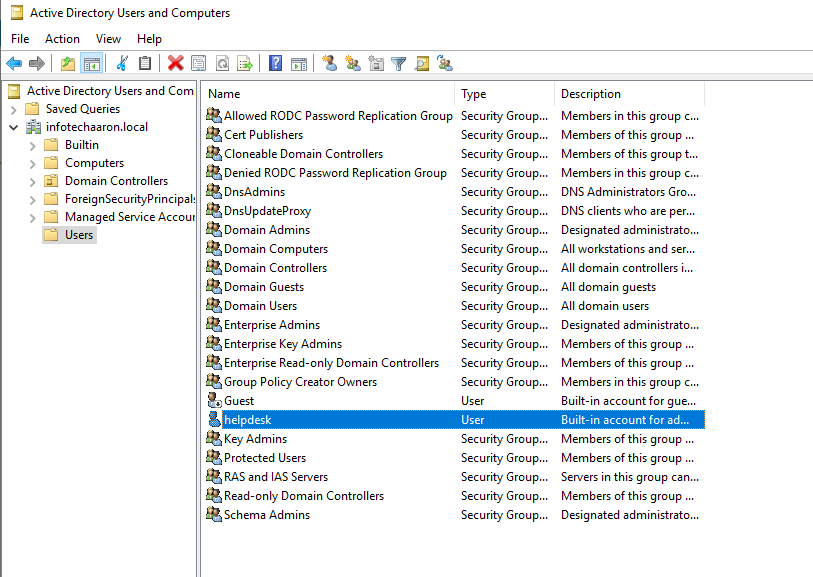
In Active Directory Users and Computers go to infotechaaron.local > Users and notice we have a helpdesk user account already created (there is also several Security Groups that have been created):
Next, open PowerShell again under admin mode and we need to import the active directory module by issuing the following command:
import-module activedirectory

Now issue the get-command new-aduser -syntax to see all the commands we can use to manage AD (notice the first one to add a new AD user). I’ll use that command to create a new AD user named Joe by issuing the new-aduser Joe command:

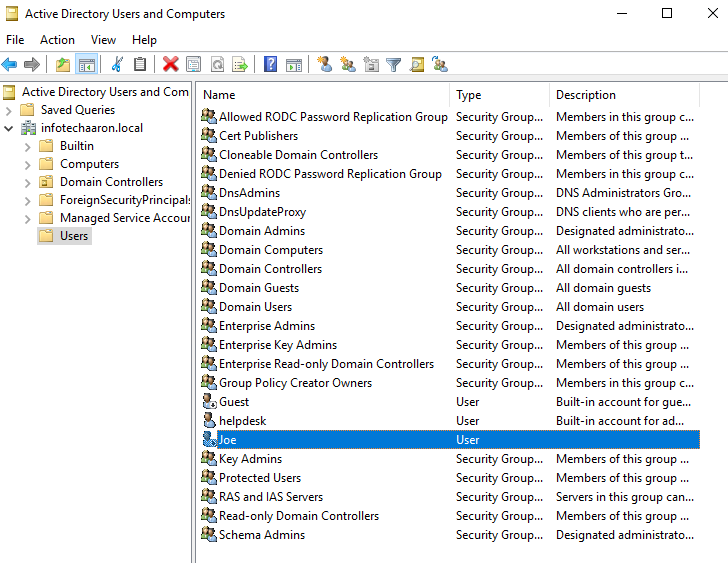
Then go back into Active Directory Users and Computers > Refresh:

Now we can see the new AD user Joe has been created:
So that was a brief tutorial on creating AD user via PowerShell. You just need to make sure to import the active directory module first.
Other useful PowerShell commands are:
whoami
PS C:\Users\helpdesk> whoami
infotechaaron\helpdesk
whoami tells us that we are logged into the user helpdesk on the infotechaaron domain.
whoami /fqdn
PS C:\Users\helpdesk> whoami /fqdn
CN=helpdesk,CN=Users,DC=infotechaaron,DC=local
whoami /fqdn tells us a little more such as the Domain Controller is infotechaaron.local
Finally, let’s enable the new AD user Joe’s account by right-clicking on his name > Enable Account:

You’ll get this error because we need to give the user Joe a password:

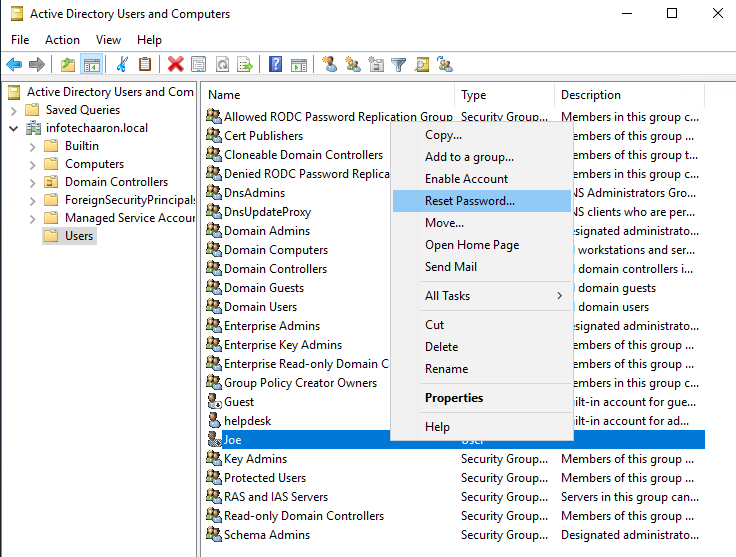
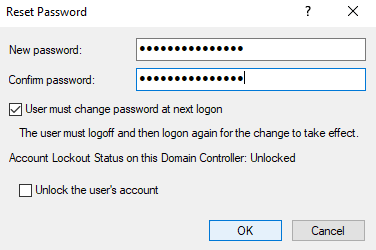
Right-click on the user and select Reset Password:
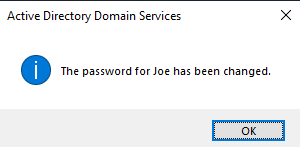
Enter any password and hit Enter:
You’ll see this popup if password is successful (hit OK):
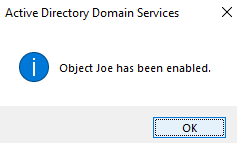
Right-click on Joe again and then Enable Account:

You’ll see this popup if successful:
That’s it for part 2. In this tutorial we covered:
- Configuring and Installing Active Directory on the Server2019 virtual machine
- Active Directory Administrative Center
- Adding new AD user using PowerShell
MAKE SURE TO STOP YOUR VIRTUAL MACHINE!
Part 3 coming soon!